Table of Contents
A well-designed contact form is the bridge between your website visitors and your business. In Odoo, contact forms go beyond simple email collection — they can generate CRM leads, create helpdesk tickets, assign project tasks, and more.
This guide walks you through setting up, customizing, and optimizing contact forms on your Odoo website.
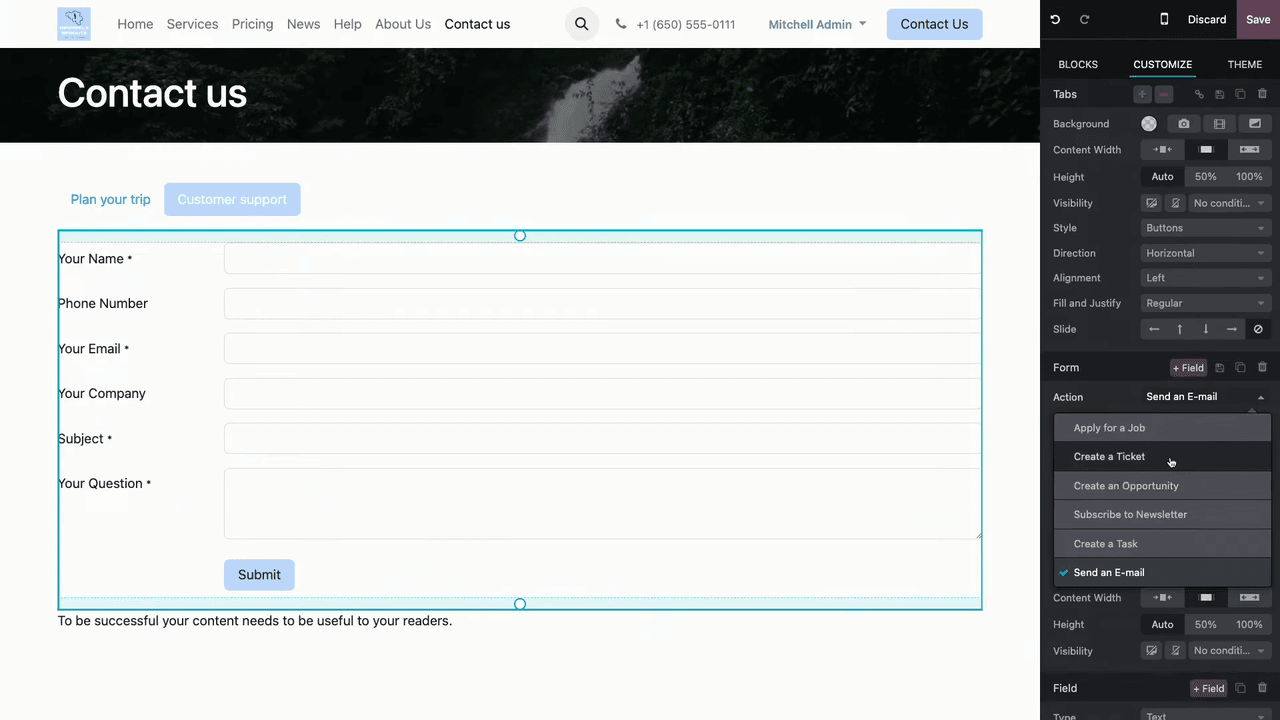
Every Odoo form is linked to a specific action that triggers when a visitor submits it. The available actions depend on which Odoo apps you have installed:
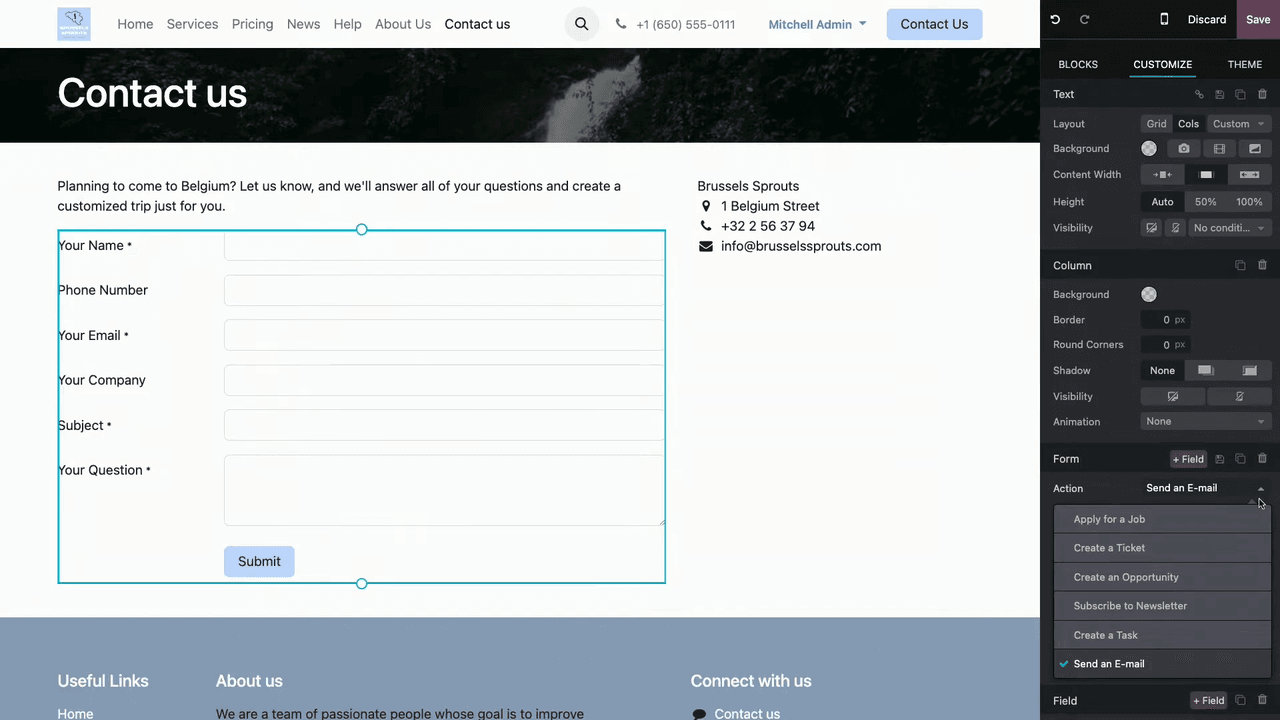
- Send an email — Delivers the submission to a specified email address
- Create an opportunity — Adds a lead in CRM with an assigned sales team and salesperson
- Create a task — Generates a task in the Project app
- Create a ticket — Opens a support ticket in Helpdesk
Each form supports only one action. Set the action before customizing fields, since the available field options change depending on the action you choose.
If you need multiple forms with different actions on a single page, use the Tabs building block to keep things organized:
- Open the website editor and search for Tabs in the building blocks
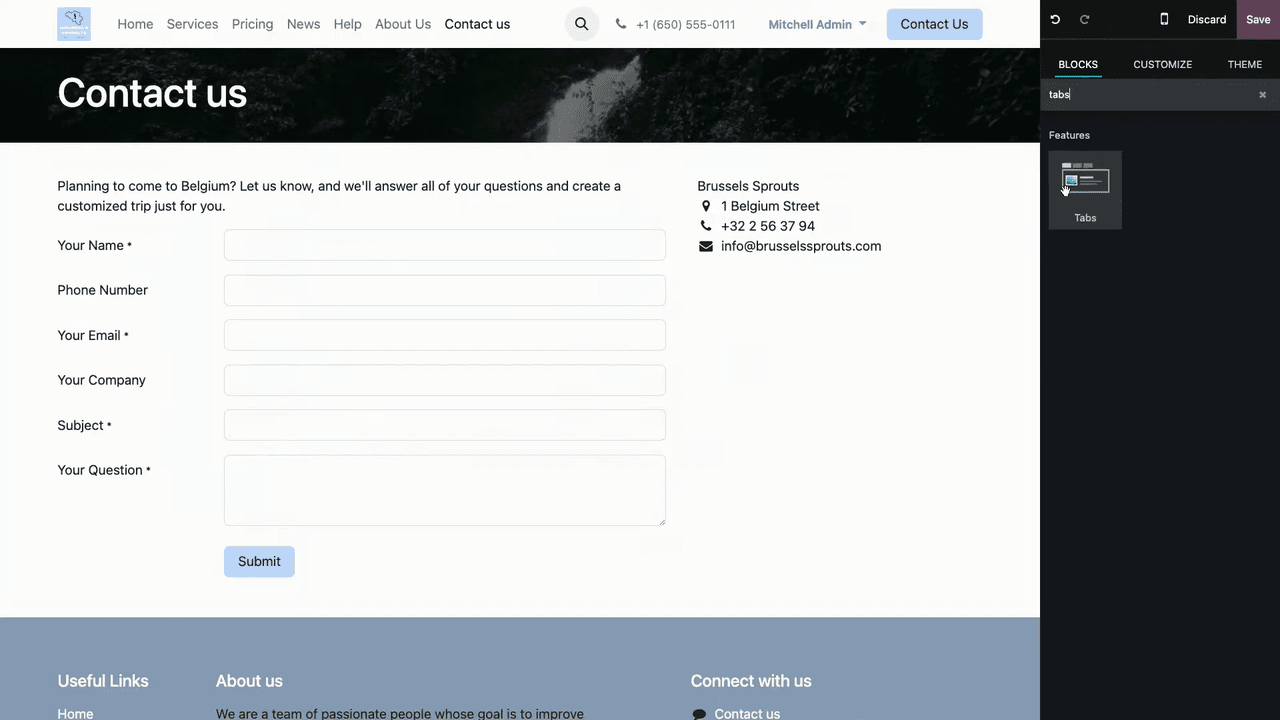
- Drag the Tabs block onto your page
- Rename each tab (e.g., "Plan Your Trip" and "Customer Support")
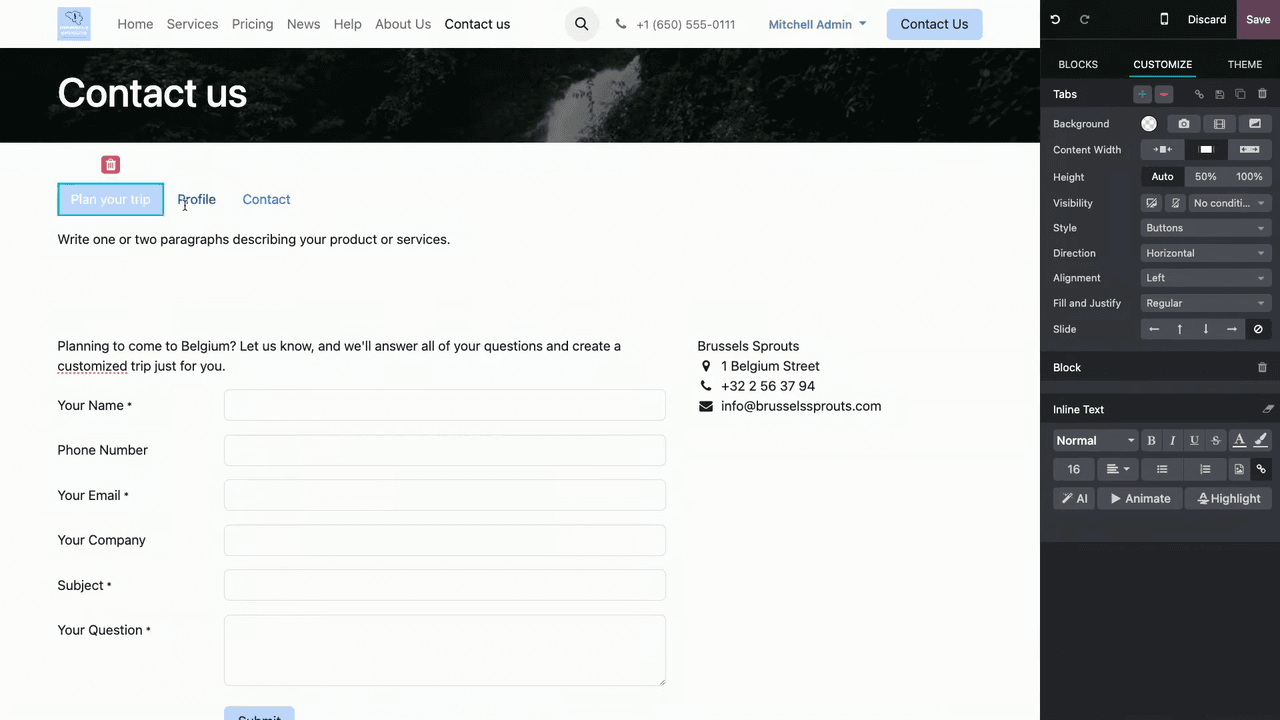
- Remove any extra tabs you don't need
- Drag a Form block into each tab
- Set a different action for each form
This approach keeps your page clean while offering visitors multiple ways to reach you.
Adding and Removing Fields
- Remove a field: Select the field and click the trash icon
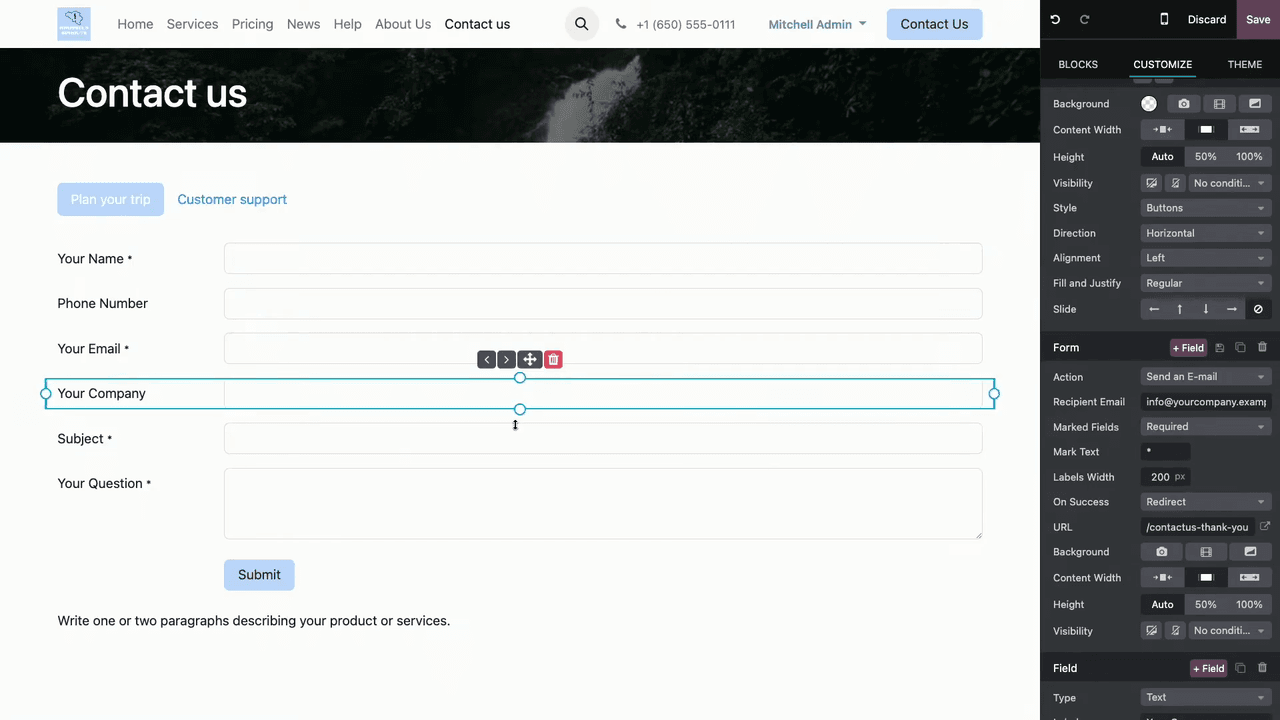
- Add a field: Click the + Field button to insert a new field
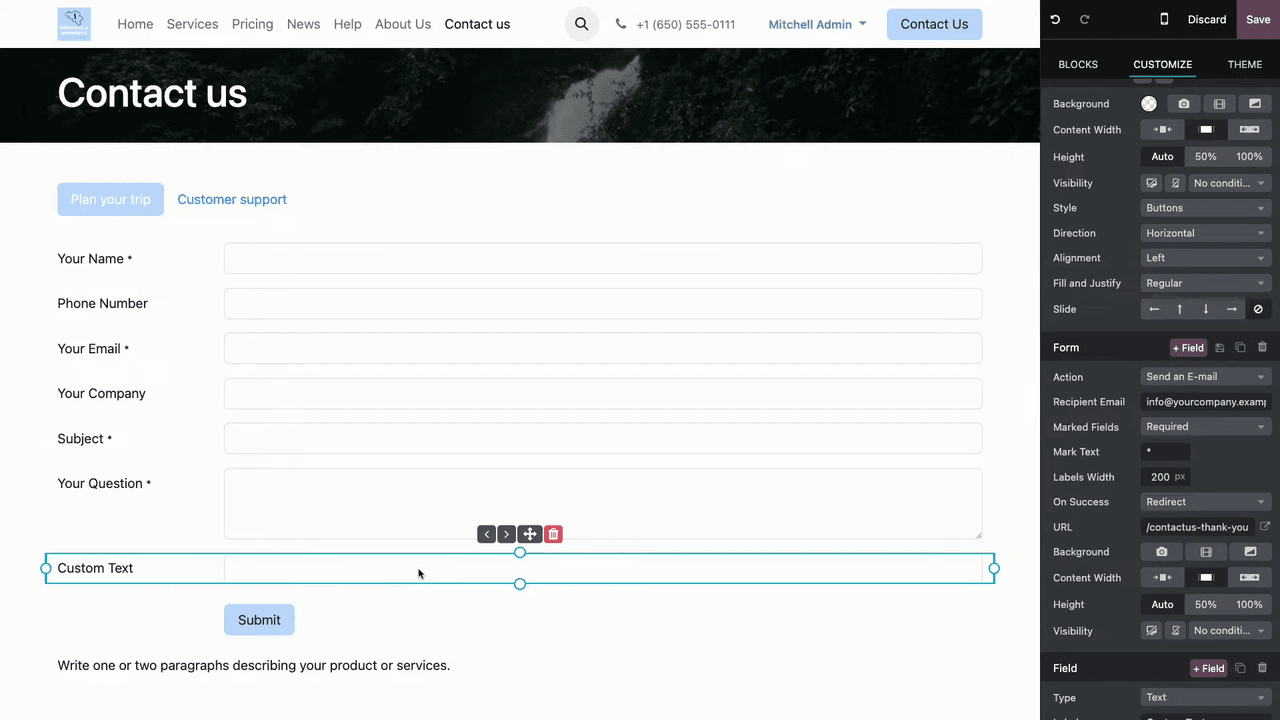
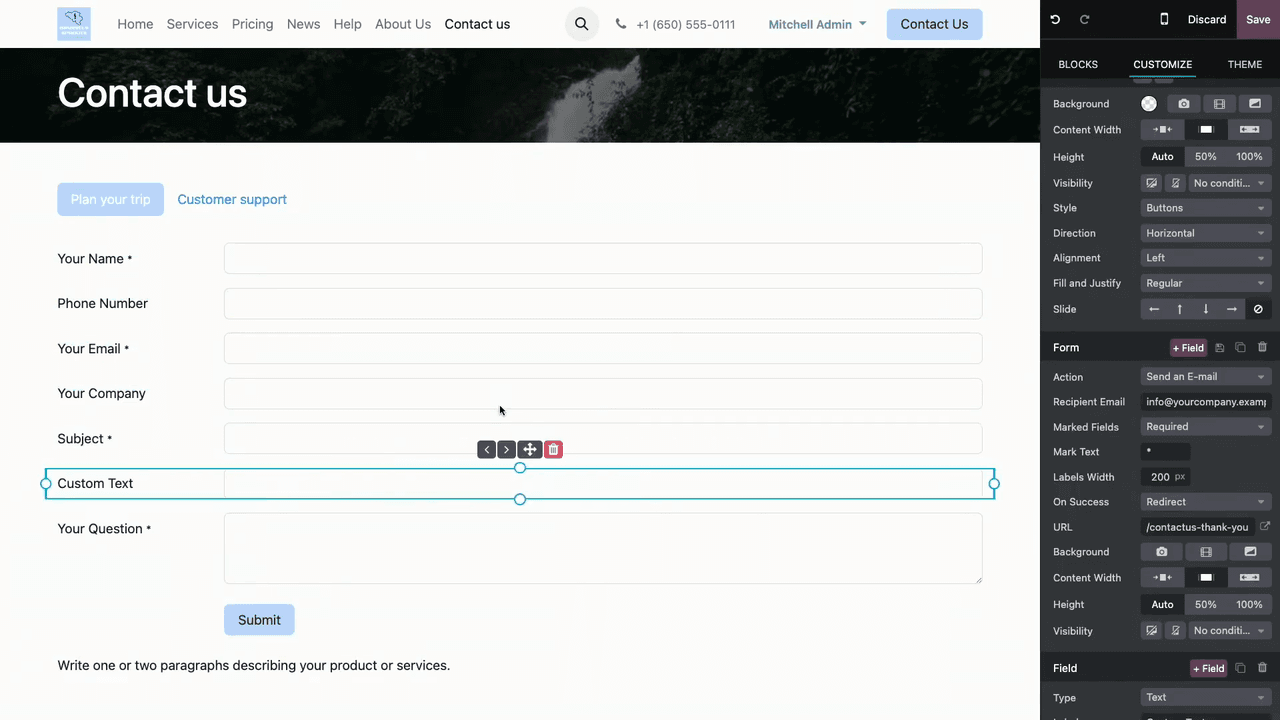
- Reorder fields: Drag and drop, or use the arrow buttons to move fields up and down
Field Types
Odoo offers several field types to match your data collection needs:
| Field Type | Use Case |
|---|
| Text | Short answers like name or company |
| Selection | Dropdown with predefined options |
| List | Multiple choice from a list |
| Checkboxes | Multiple selections at once |
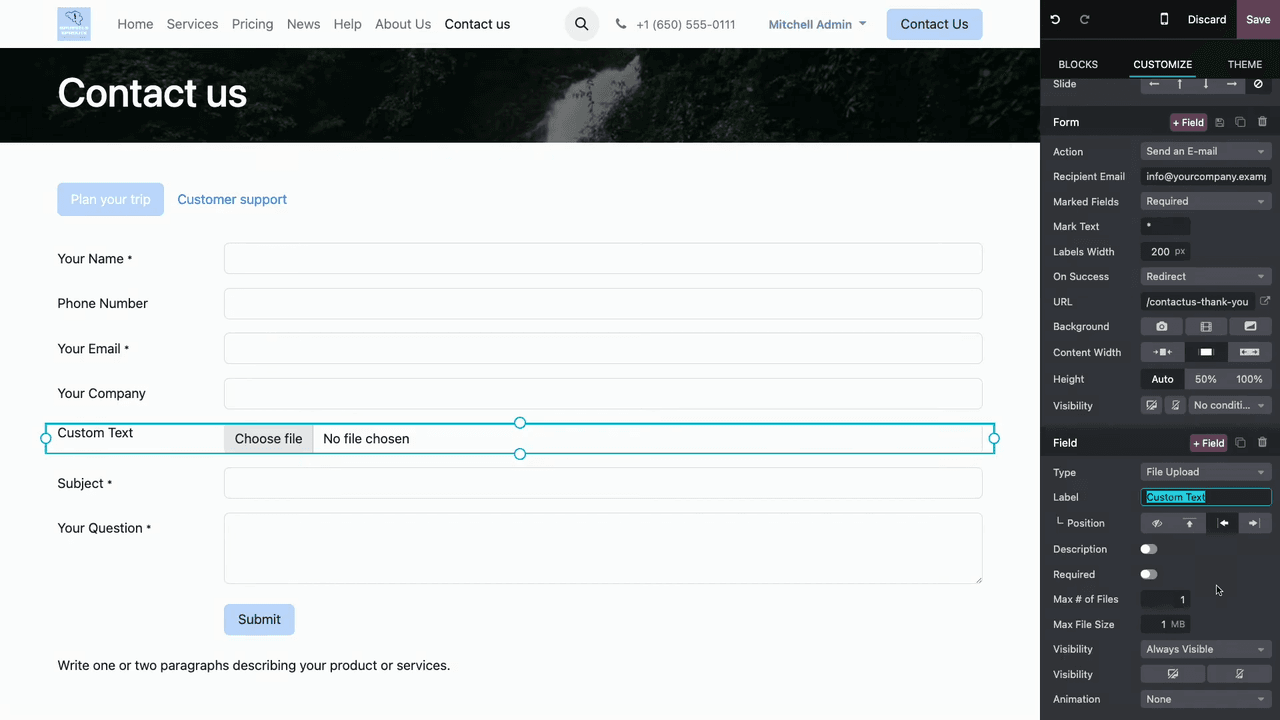
| File Upload | Attachments with configurable max file count and size |

Field Settings
For each field, you can configure:
- Label — The field name displayed to the visitor
- Label position — Placement relative to the input
- Description — Helper text below the field
- Required — Whether the field must be filled before submitting
- Default value — Pre-filled text (useful for guiding visitor input)
Marking Required vs Optional Fields
Odoo lets you control how required and optional fields are indicated with a star marker:
- Required — Star appears on mandatory fields
- Optional — Star appears on optional fields
- None — No star markers shown
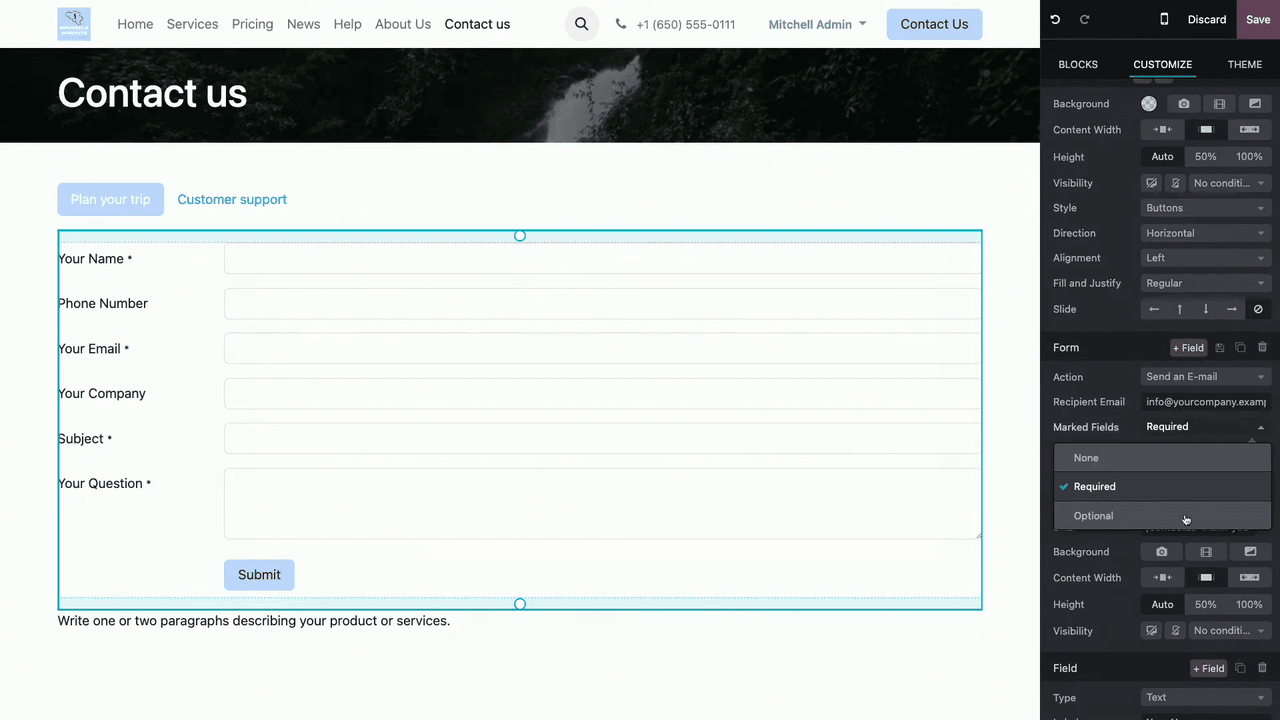
Adjust the label width to improve layout and readability.
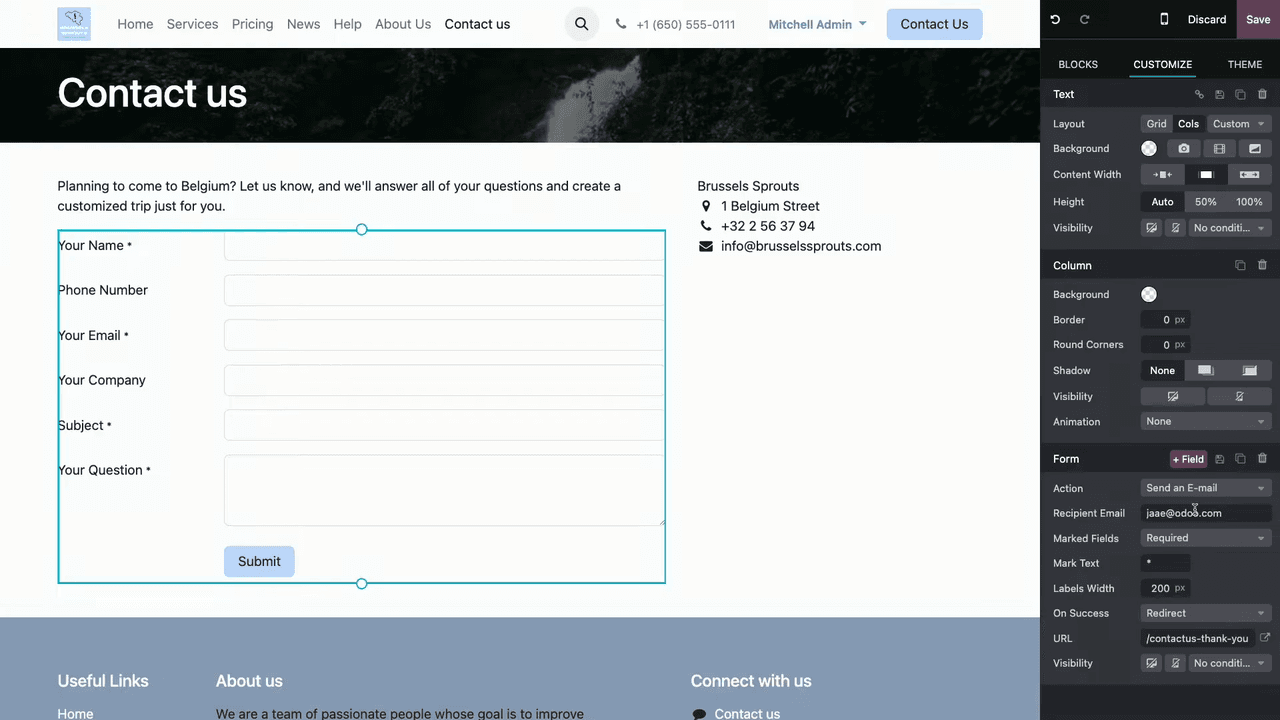
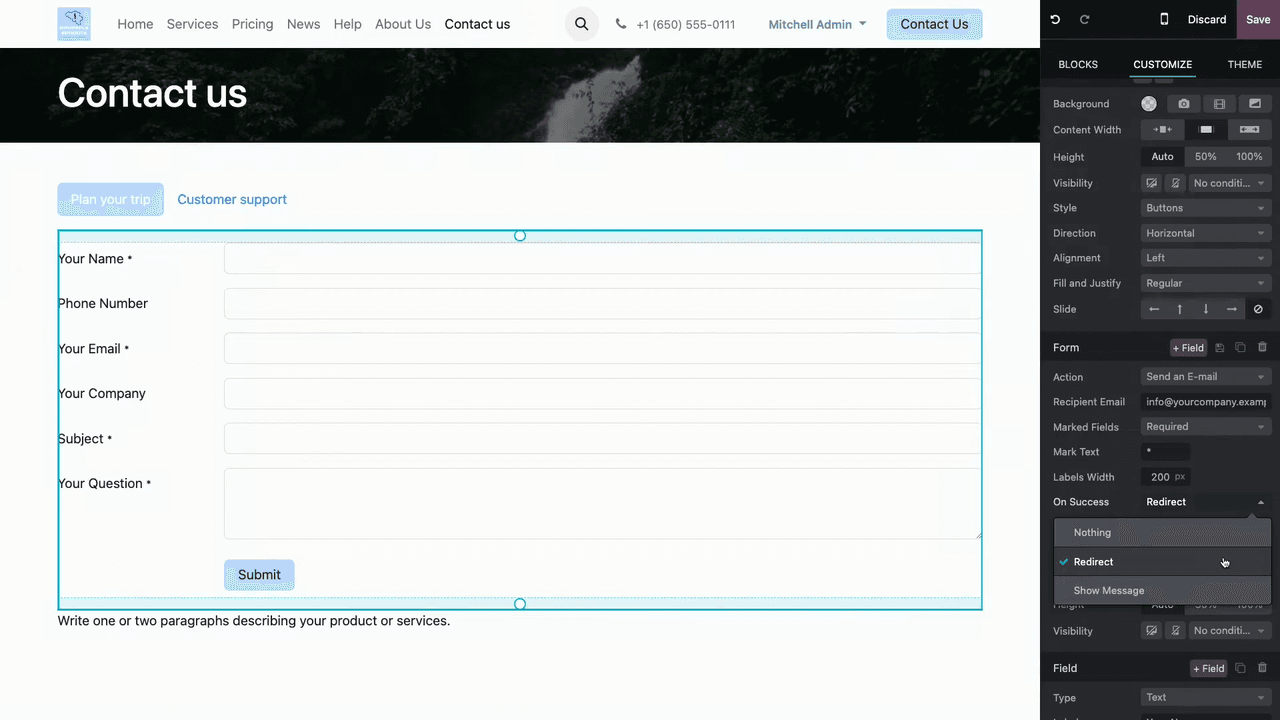
Setting the Submit Action
After a visitor submits the form, you can choose what happens next:
- Redirect — Send the visitor to a thank-you page (the default)
- Show message — Display the submitted content back to the visitor
- Nothing — No visible response
Conditional Visibility
Conditional visibility lets you show or hide fields based on what the visitor enters in other fields. This keeps forms short by default while collecting extra information when relevant.
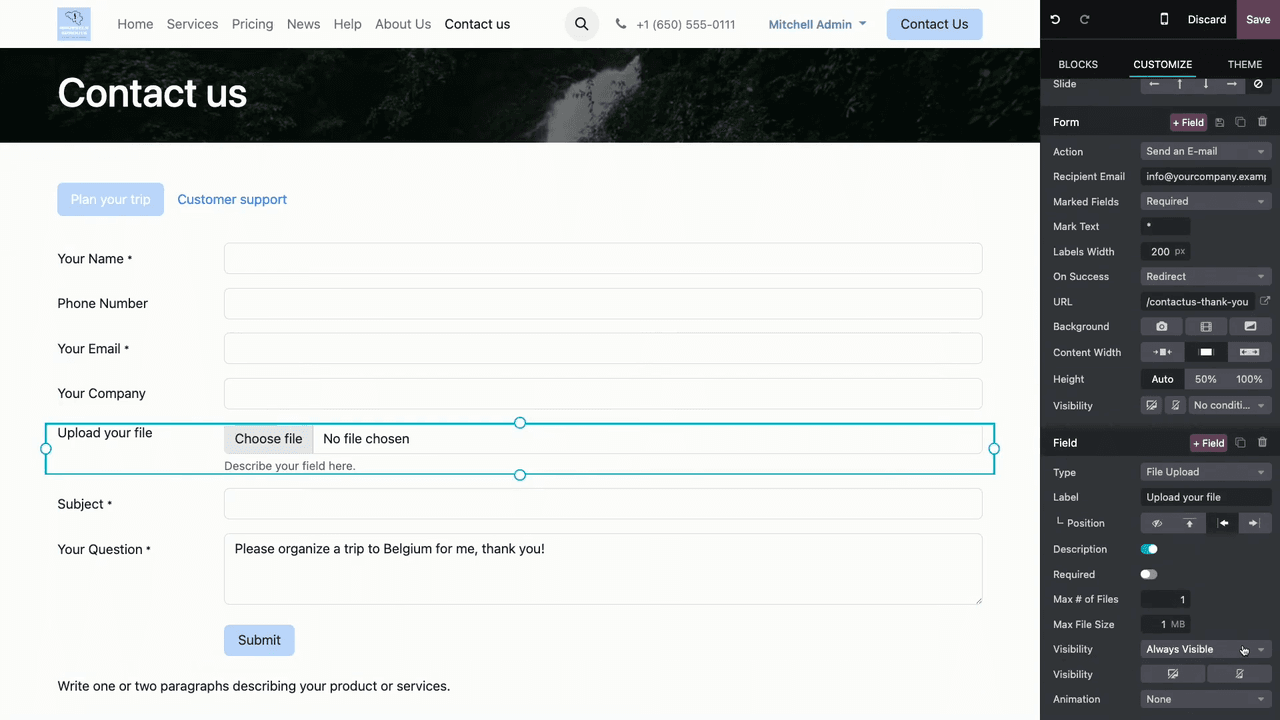
To set it up:
- Select a field and open its Visibility settings
- Choose from:
- Always visible — Field is always shown
- Always hidden — Field is never shown
- Visible only if — Field appears based on a condition
- Define the condition by selecting a reference field and an operator:
- Is equal to / Is not equal to
- Contains / Doesn't contain
- Is set / Is not set
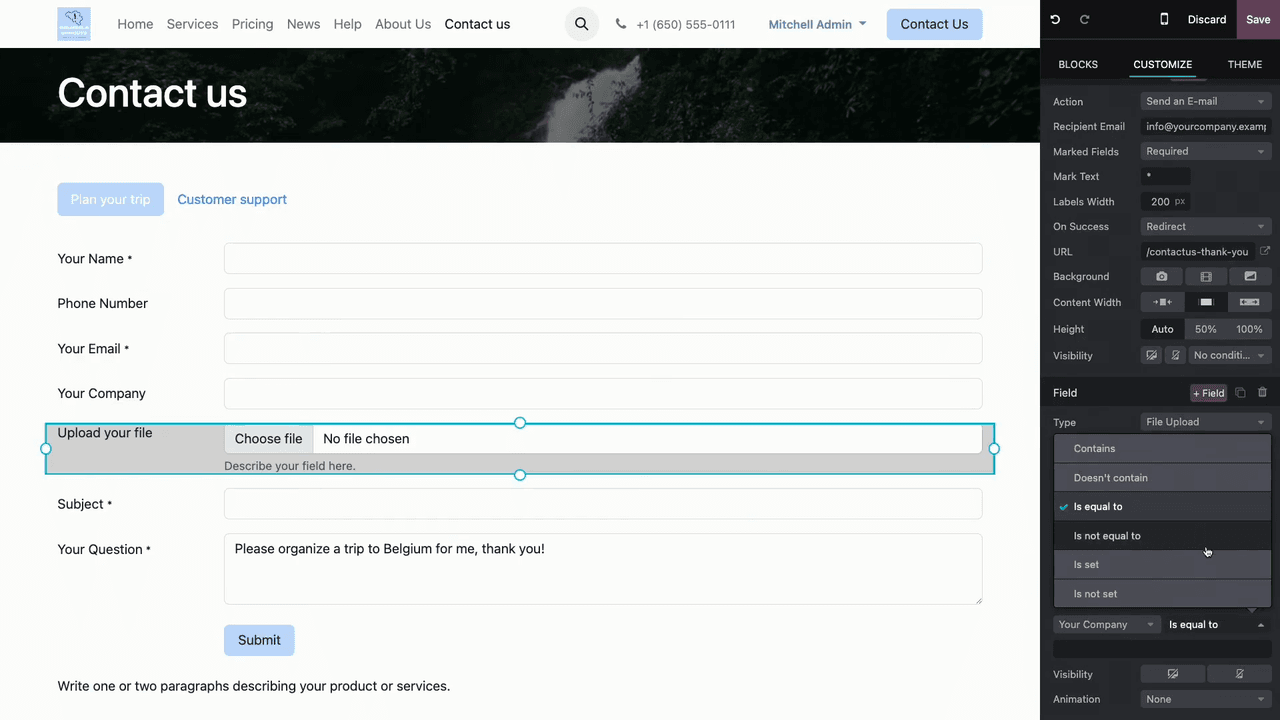
Example: Show a file upload field only when the "Your Company" field has a value — so only business inquiries include attachment options.
Quick Setup Checklist
- Decide the form's purpose and select the corresponding action
- Set the recipient email or target app (CRM, Helpdesk, Project)
- Add and configure fields to collect the information you need
- Set required fields and default values where appropriate
- Add conditional visibility for a cleaner user experience
- Choose the post-submission behavior (redirect, message, or nothing)
- Use Tabs if you need multiple forms on one page
- Save, preview, and test the form before publishing
References

