How to Use Storage Categories in Odoo Inventory

How to Use Storage Categories in Odoo Inventory

Yannis, Odoo Expert
5 min read

Table of Contents

The Problem with Basic Putaway Rules

Standard putaway rules in Odoo tell the system exactly where to store a product. Vinyl records go to Shelf 1. Done.

But what happens when Shelf 1 is full? You carry a heavy pallet all the way to the back of the warehouse, only to discover there is no room. Now you need to figure out an alternative location on the spot.

Warehouse scenario with full shelf requiring manual rerouting

Storage categories solve this by checking for available space before you even leave the receiving dock.

What Are Storage Categories?

Storage categories act as smart putaway rules. They define capacity limits for storage locations, including maximum weight and per-product quantity caps. When an incoming shipment would exceed a location's limit, Odoo automatically directs the extras to an alternative location within the same category.

Instead of one rigid destination, you define a group of locations. Odoo fills them intelligently.

Setting Up Storage Categories

Step 1: Enable Storage Locations

  1. Open the Inventory app
  2. Go to Configuration > Settings
  3. Scroll down to the Warehouses section
  4. Enable the Storage Locations checkbox
  5. Click Save

Inventory settings page with Storage Locations checkbox enabled

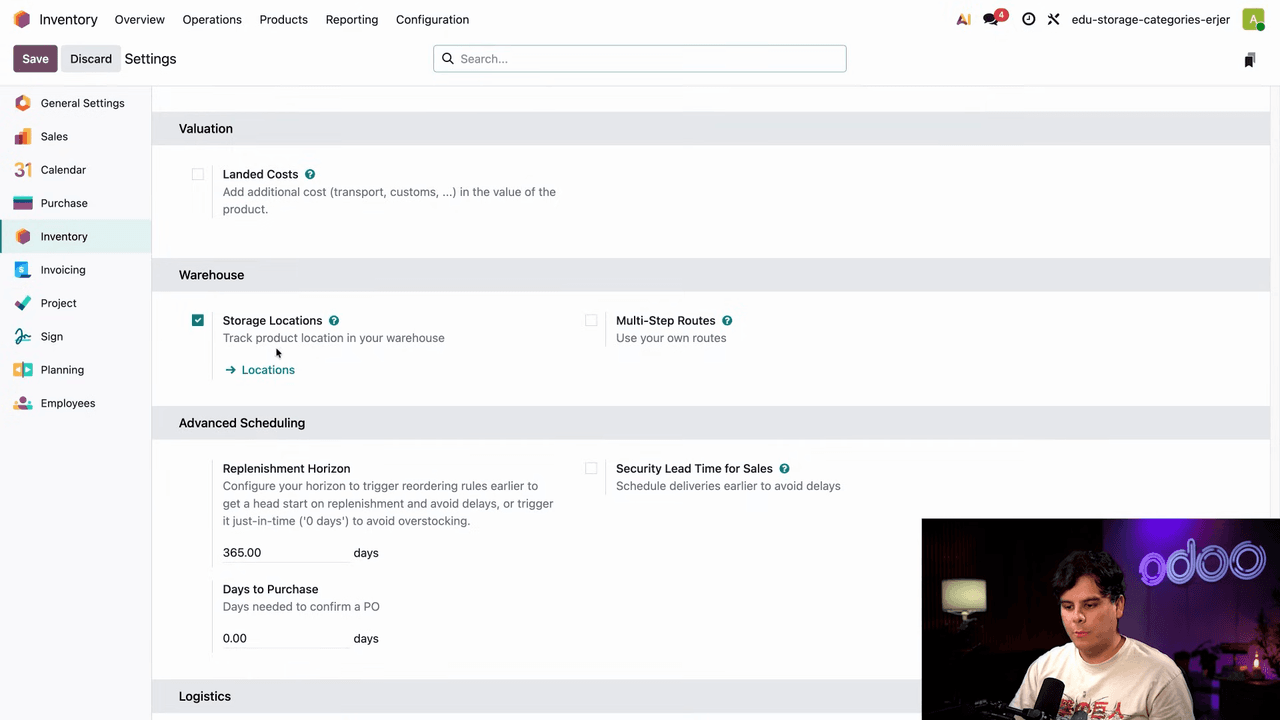
Enabling storage locations automatically enables storage categories as well.

Step 2: Configure a Storage Category

  1. Go to Configuration > Storage Categories
  2. Open an existing category or create a new one (e.g., "Zone A")
  3. Set the Max Weight if needed
  4. Under the Capacity by Product tab, define per-product limits
    • For example, set "Vinyl Records" with a maximum quantity of 100

Storage category form showing Zone A with capacity by product tab

Capacity by product tab with vinyl records set to maximum 100

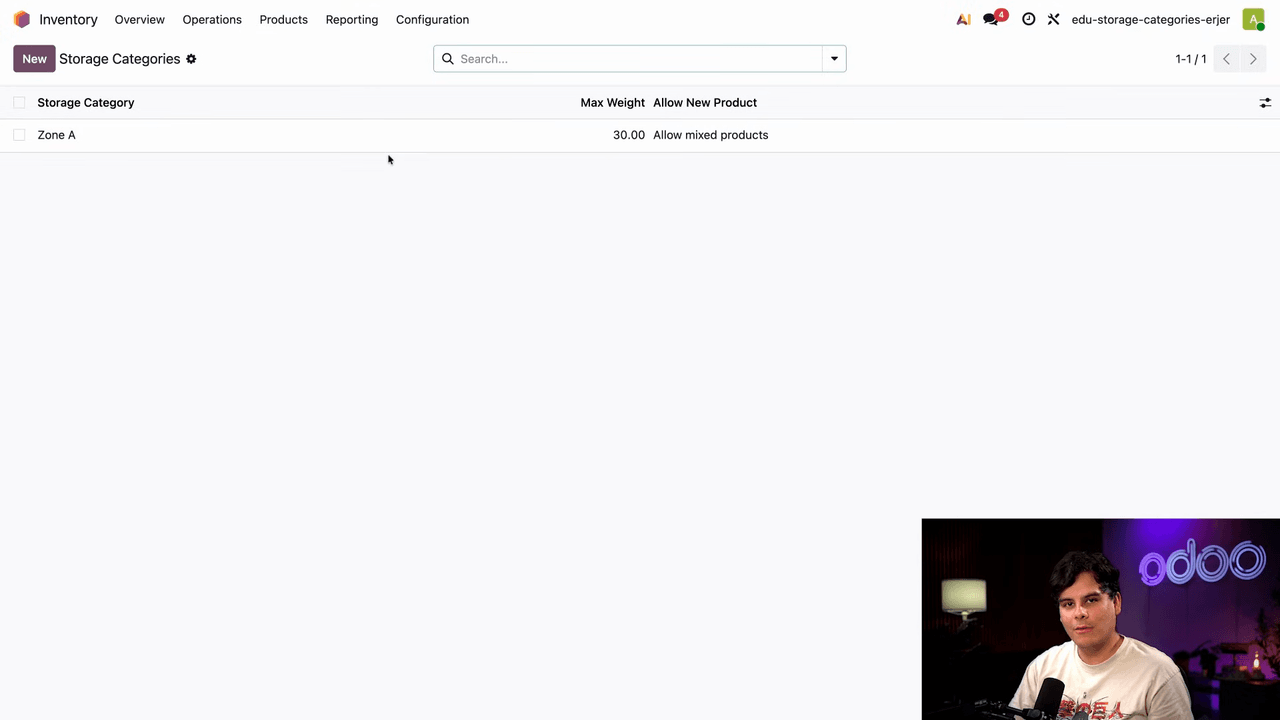
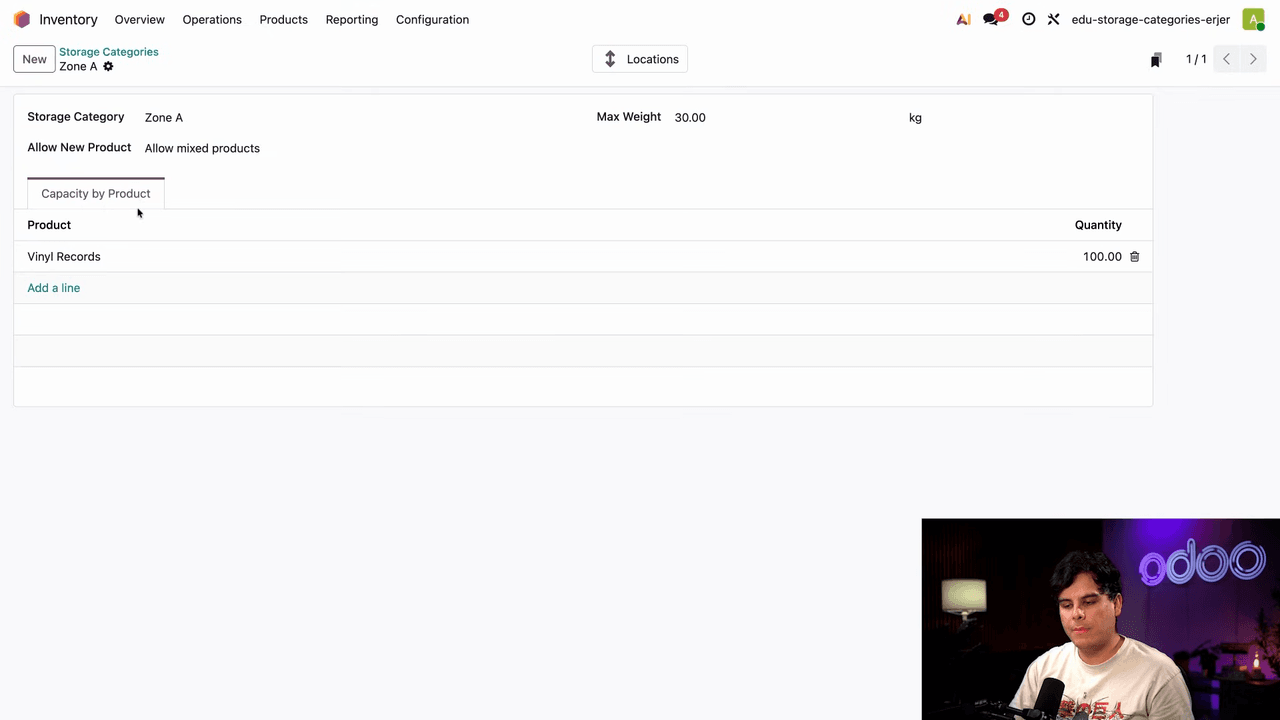
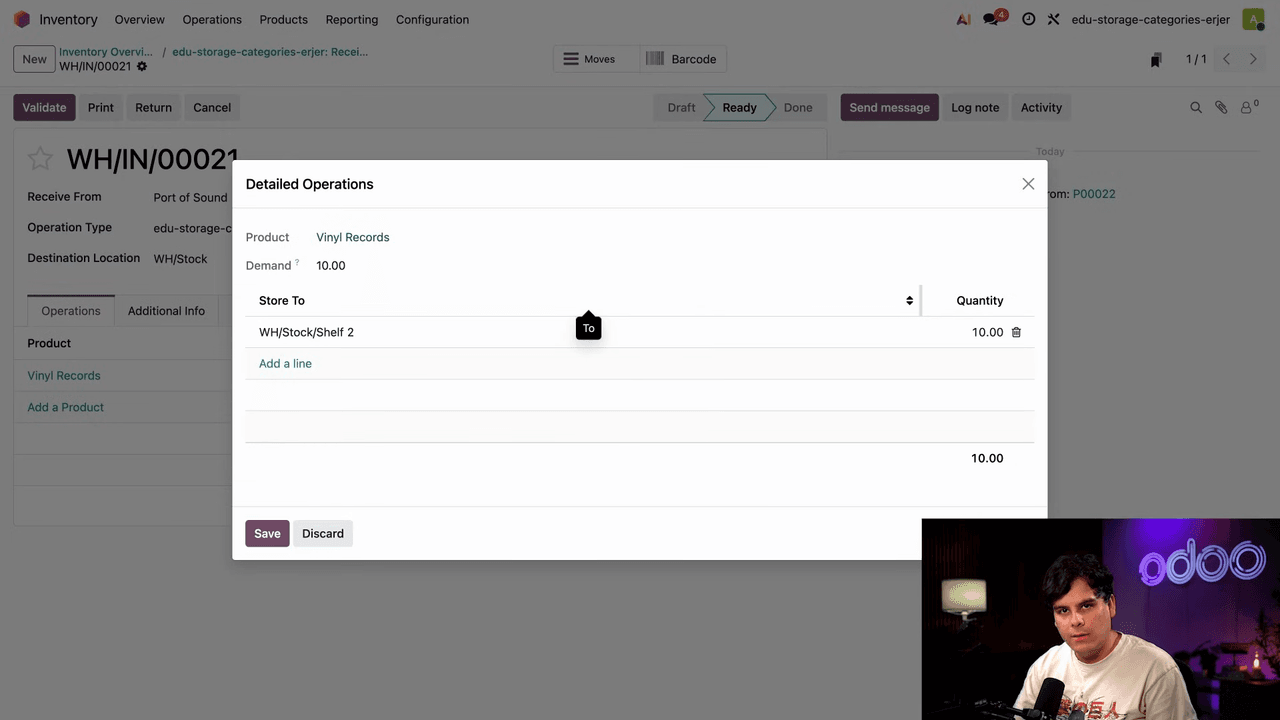
When incoming stock exceeds this limit, Odoo routes the overflow to another location in the same category.

Step 3: Assign Locations to the Category

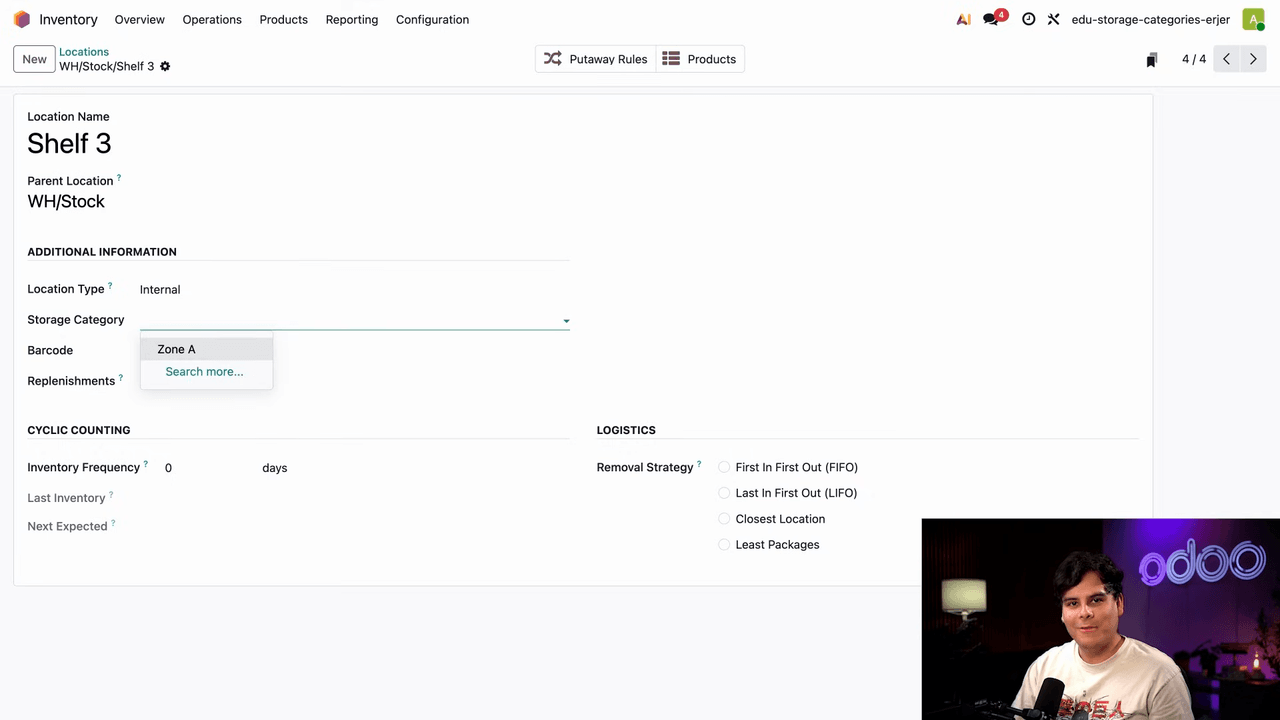
Each location that should participate in the category needs to be tagged:

  1. Go to Configuration > Locations
  2. Open the target location (e.g., WH/Stock/Shelf 3)
  3. Set the Storage Category field to your category (e.g., "Zone A")
  4. Save

Locations list showing shelves assigned to Zone A storage category

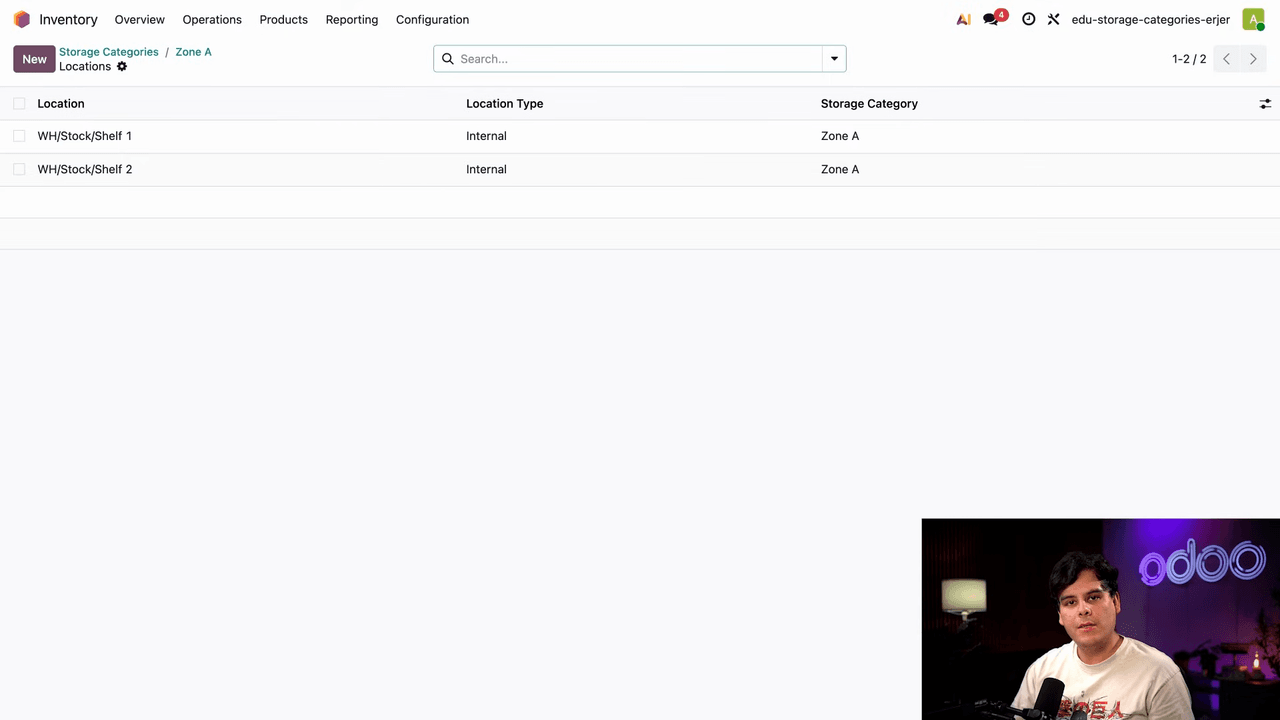
You can verify which locations belong to a category by clicking the Locations smart button on the storage category form.

Tip: Click a location and then the Products smart button to see current on-hand quantities.

Products smart button showing 90 vinyl records on hand at Shelf 1

Shelf 3 location form with storage category set to Zone A

Step 4: Update Your Putaway Rule

The key change is pointing the putaway rule at the parent location rather than a specific shelf:

  1. Go to Configuration > Putaway Rules
  2. Edit the rule for your product
  3. Change the Store To field from a specific shelf (e.g., WH/Stock/Shelf 1) to the parent location (e.g., WH/Stock)
  4. Set the Sublocation field to Closest Location
  5. Set the Having Category field to your storage category (e.g., "Zone A")

Putaway rules list showing vinyl records rule with store to field

Putaway rule configured with parent location, closest location, and Zone A category

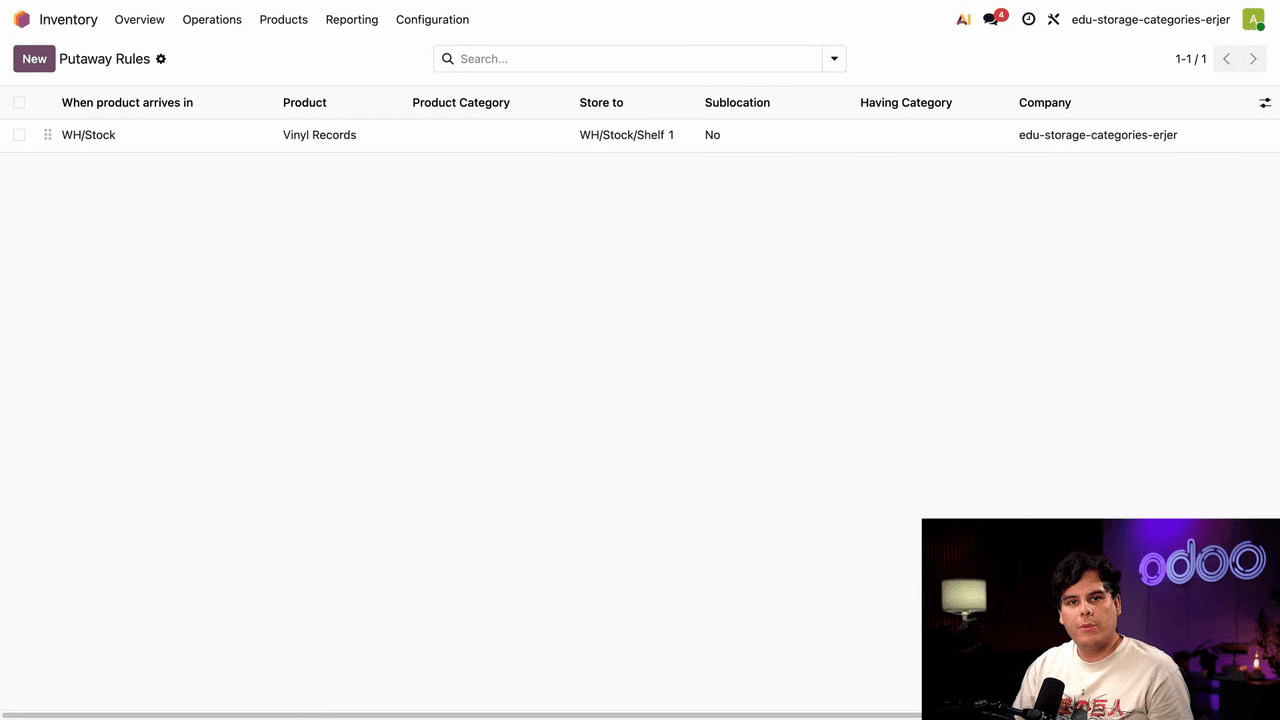
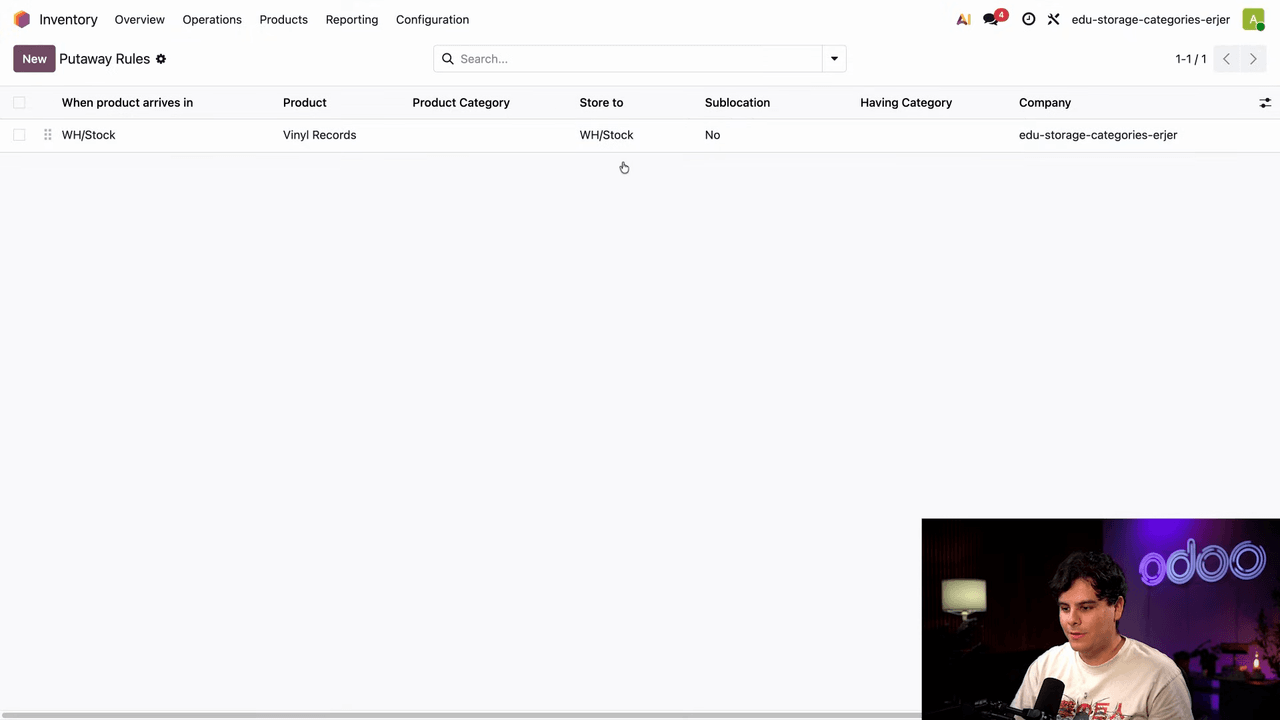
Odoo will now automatically choose the best available sublocation within WH/Stock that belongs to the specified category.

Sublocation Routing Options

When configuring a putaway rule with storage categories, you have three sublocation options:

OptionBehavior
NoProducts go directly to the location in the "Store To" field
Closest LocationRoutes to the nearest available sublocation within the storage category
Last UsedRoutes to the sublocation where the product was most recently stored

Sublocation dropdown showing No, Closest Location, and Last Used options

For most warehouse setups, Closest Location is the recommended choice. It minimizes travel distance while respecting capacity limits.

Storage Categories in Action

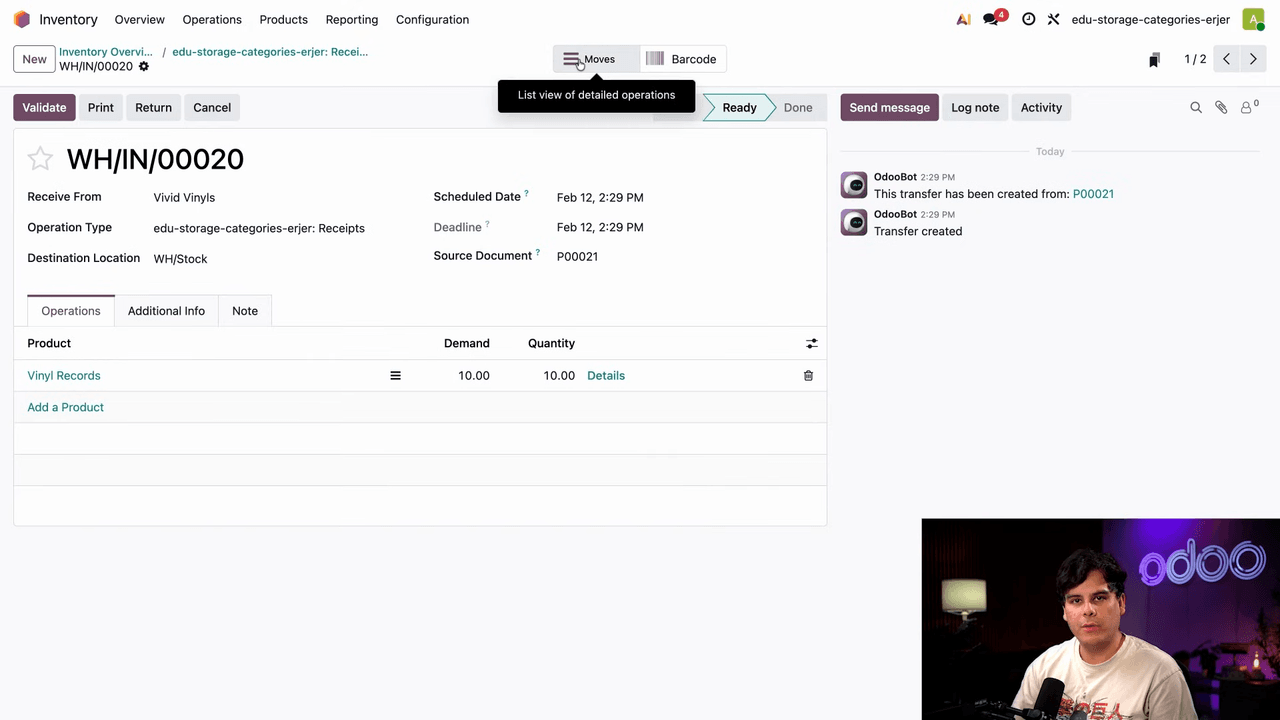
Here is a practical example of how it works:

  1. Starting state: Shelf 1 already holds 90 vinyl records. The category limit is 100 per location.
  2. First receipt: 10 vinyl records arrive from Vendor A. Odoo routes them to Shelf 1 (90 + 10 = 100, within limit). Shelf 1 is now full.

Receipt from Vivid Vinyls showing 10 vinyl records routed to Shelf 1

  1. Second receipt: Another 10 vinyl records arrive from Vendor B. Odoo detects Shelf 1 is at capacity and automatically routes these to Shelf 2.

Receipt from Port of Sound showing 10 vinyl records automatically routed to Shelf 2

No manual overrides needed. No wasted trips to a full shelf.

Key Takeaways

  • Storage categories add capacity awareness to Odoo's putaway system
  • Set per-product quantity limits and max weight on each category
  • Assign the category to multiple locations so Odoo can route overflow automatically
  • Point putaway rules at a parent location and let the storage category handle sublocation selection
  • Use Closest Location for efficient routing that minimizes warehouse travel

To get started, enable storage locations in your Inventory settings, create a storage category with capacity limits, and update your putaway rules to use parent locations with the closest location option.


References

Tags

OdooInventoryStorage CategoriesWarehousePutaway Rules
Professional businesswoman working with data and analytics in modern office environment

Need Help with Odoo Implementation in Hong Kong?

Zoo AI is a certified Odoo partner in Hong Kong, delivering expert ERP implementation and AI automation for SMEs. Get in touch to learn more.