How to Use Odoo Email Marketing

How to Use Odoo Email Marketing

Yannis, Odoo Expert
5 min read

Table of Contents

Why Email Marketing Still Works

Email remains one of the most cost-effective marketing channels available. It lets you reach a large audience at low cost while customizing messages that resonate with each recipient. More importantly, email is action-oriented — readers reply, click through, sign up, and buy from the emails they receive.

Odoo's Email Marketing module gives you everything you need to create, send, schedule, and measure email campaigns — all from one interface.

Creating and Sending an Email

Compose Your Email

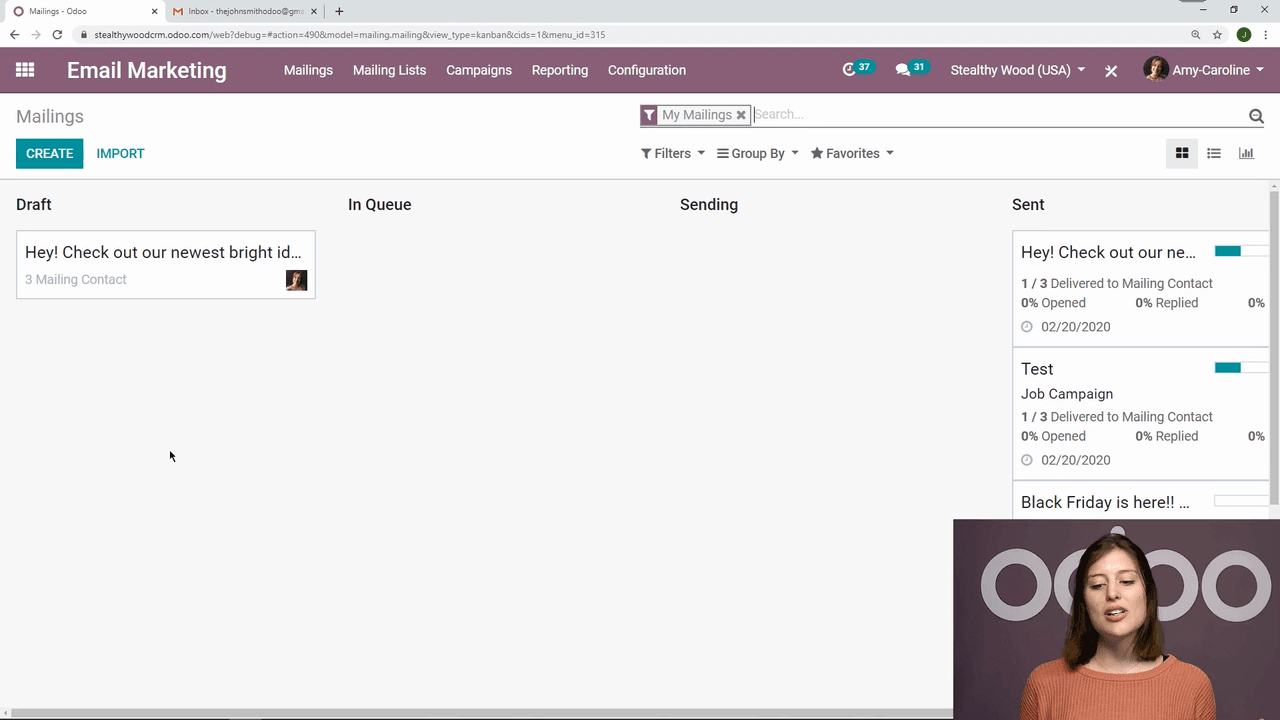
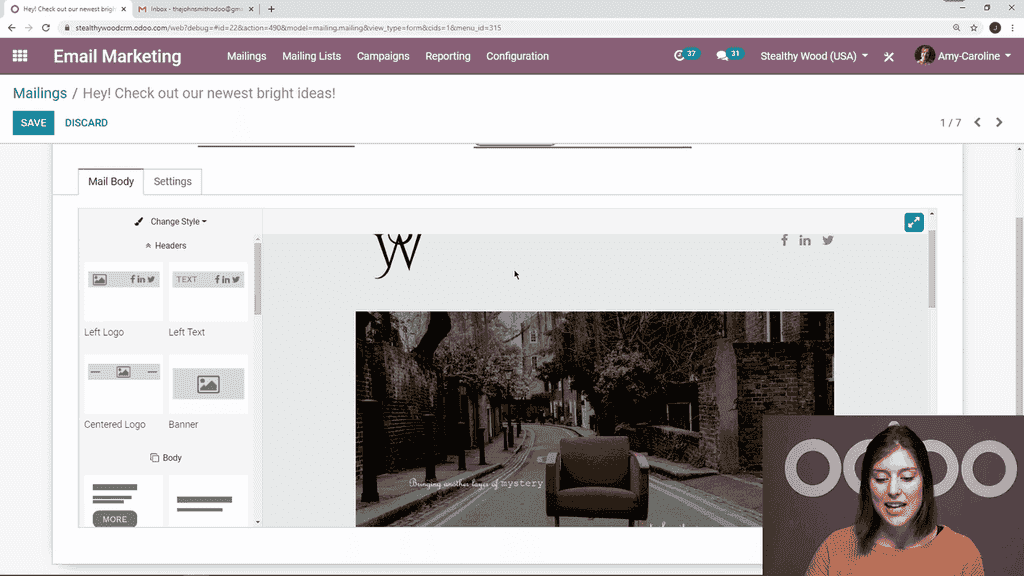
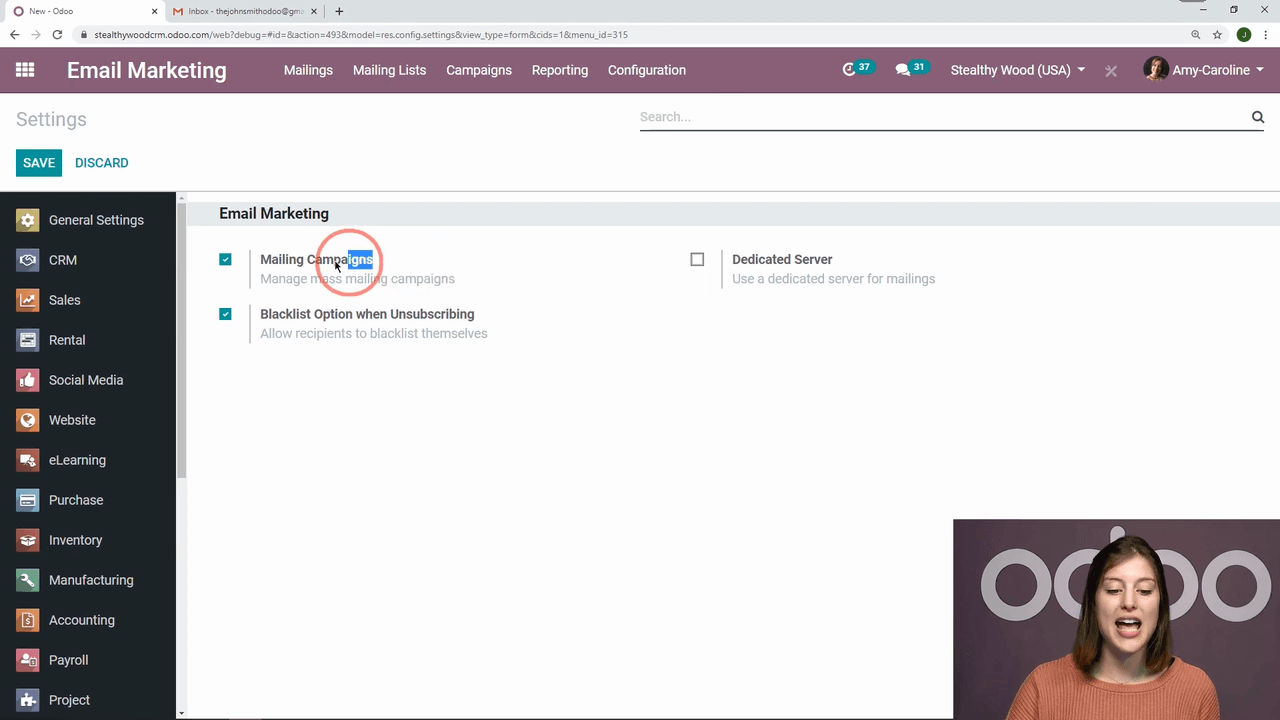
Open the Email Marketing app to see an overview of all your emails: drafts, queued, and sent. To create a new email:

Email Marketing app overview showing drafts, queued, and sent emails

  1. Click Create or open an existing draft
  2. Add a subject line — keep it clear and compelling
  3. Choose your recipients by selecting one or more mailing lists
  4. Pick an email template from Odoo's built-in library
  5. Customize the template with your own images and text using the drag-and-drop editor

Draft email with subject line, recipients, and template selected

Odoo built-in email template library

Send or Schedule

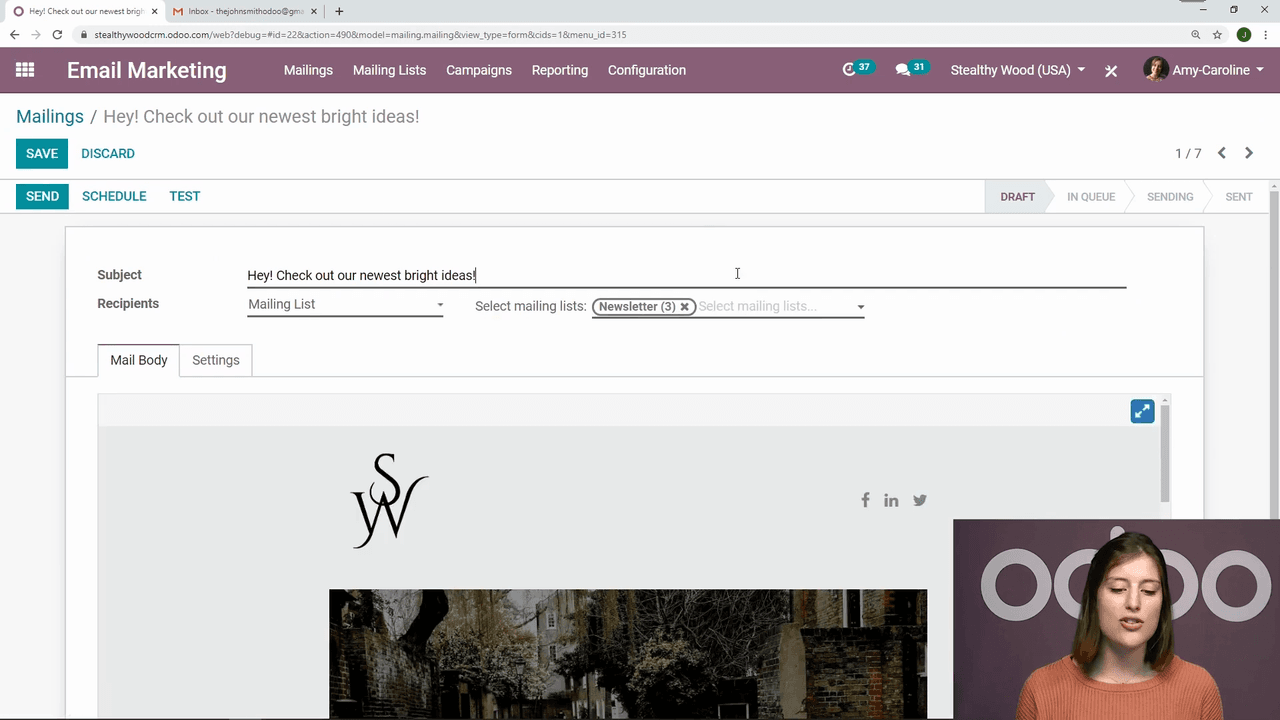
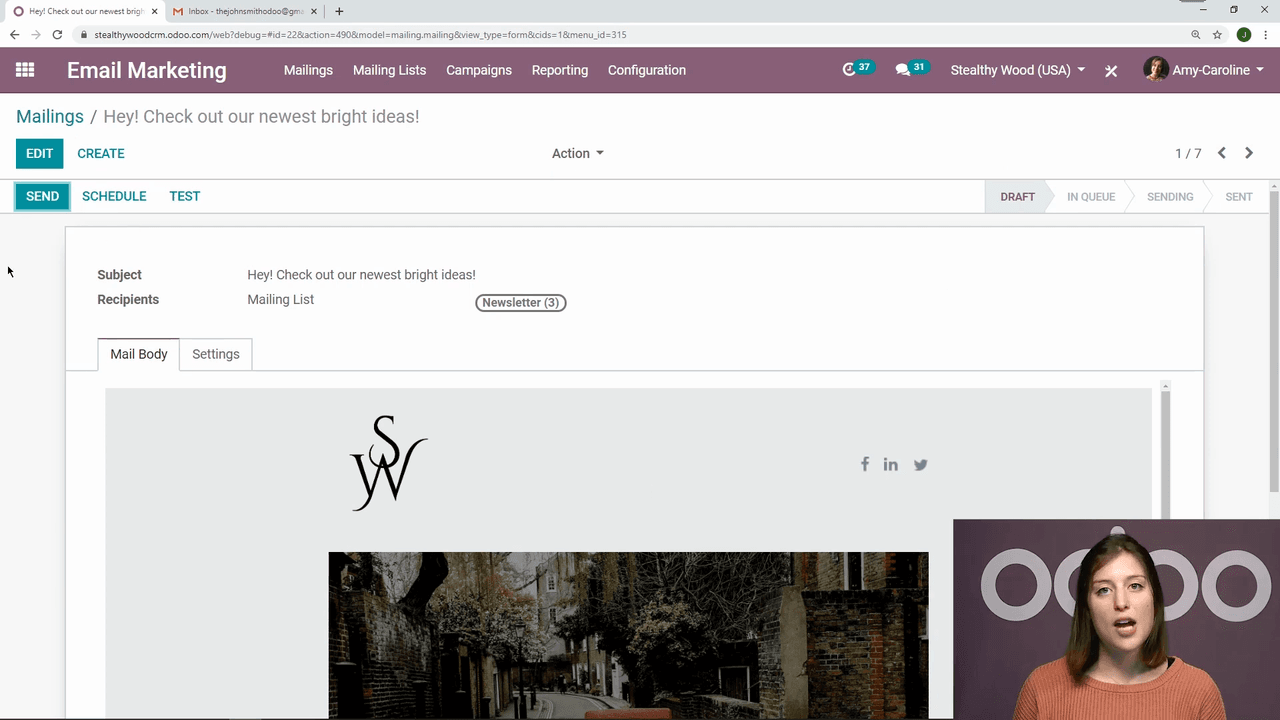
Once your email is ready, you have two options:

  • Send immediately — Odoo queues the email and sends it within the next scheduled run (typically within an hour)
  • Schedule for later — Pick a specific date and time for delivery

Send or schedule options for the email

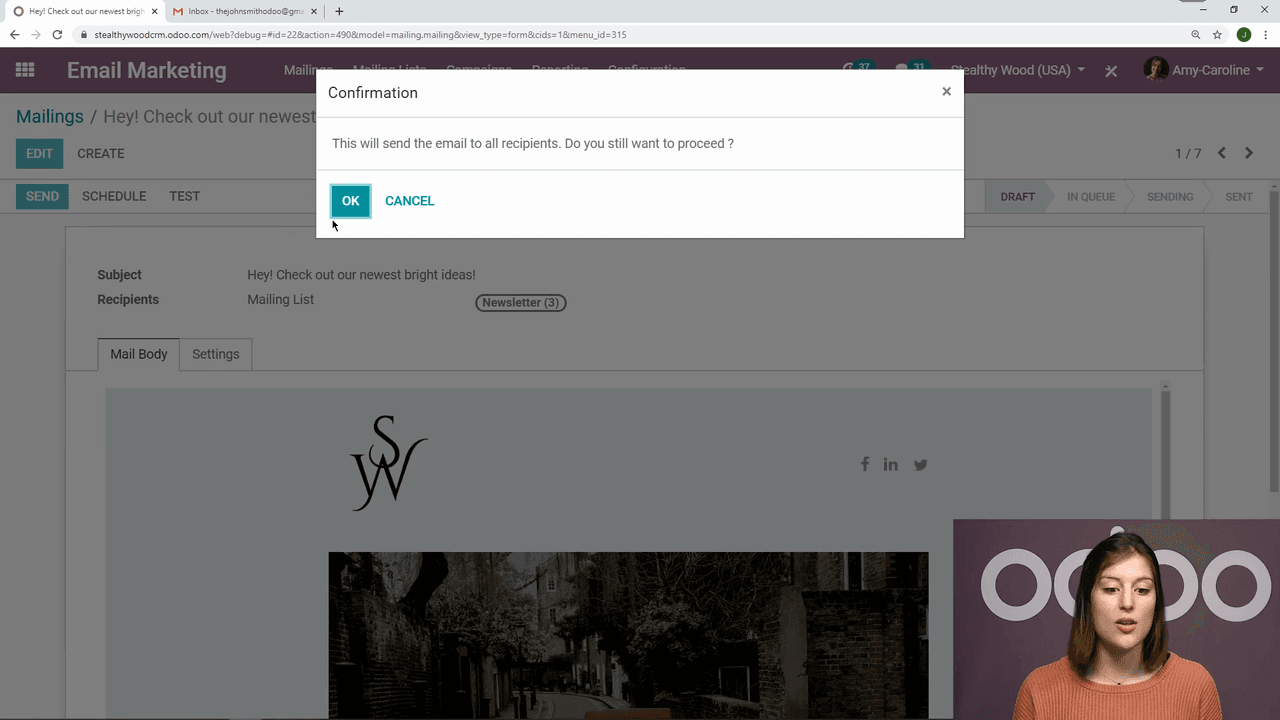
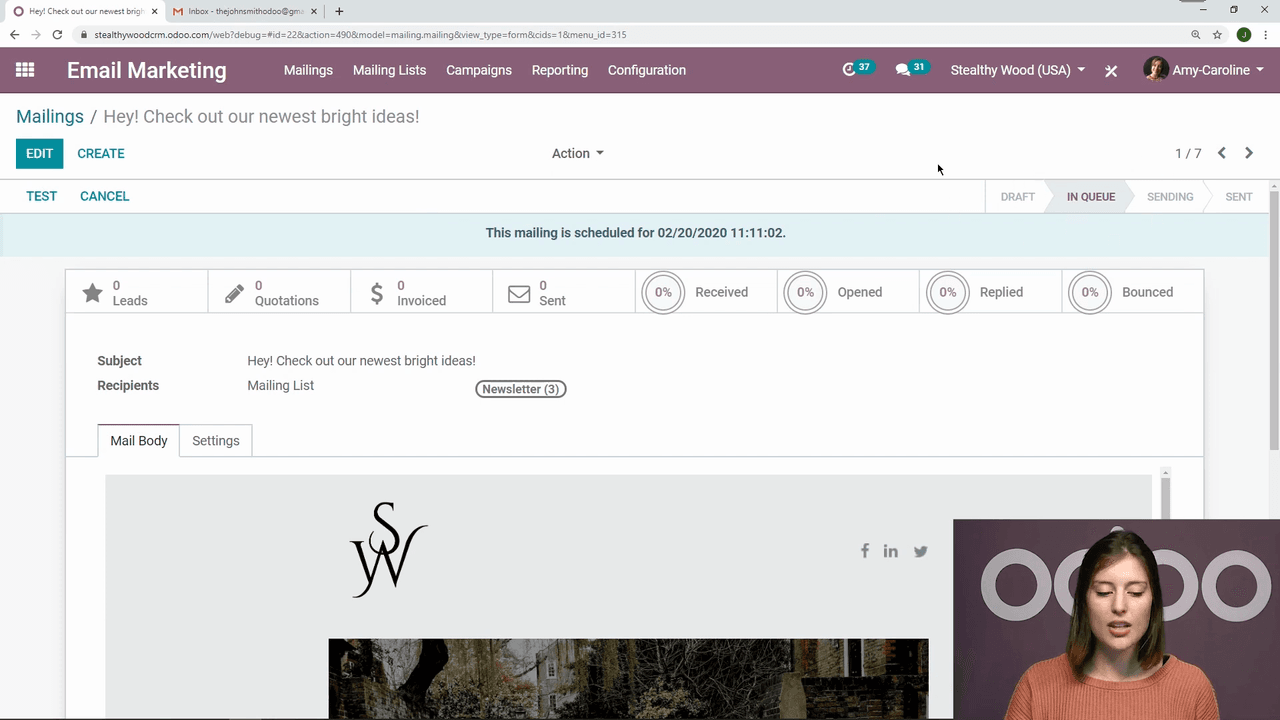
After clicking Send, Odoo asks for confirmation to prevent accidental sends. The email moves from Draft to In Queue status. While in queue, you can still cancel it if you spot an error — the email returns to Draft for editing.

Confirmation dialog before sending email

Email status changed from Draft to In Queue

Test Before Sending

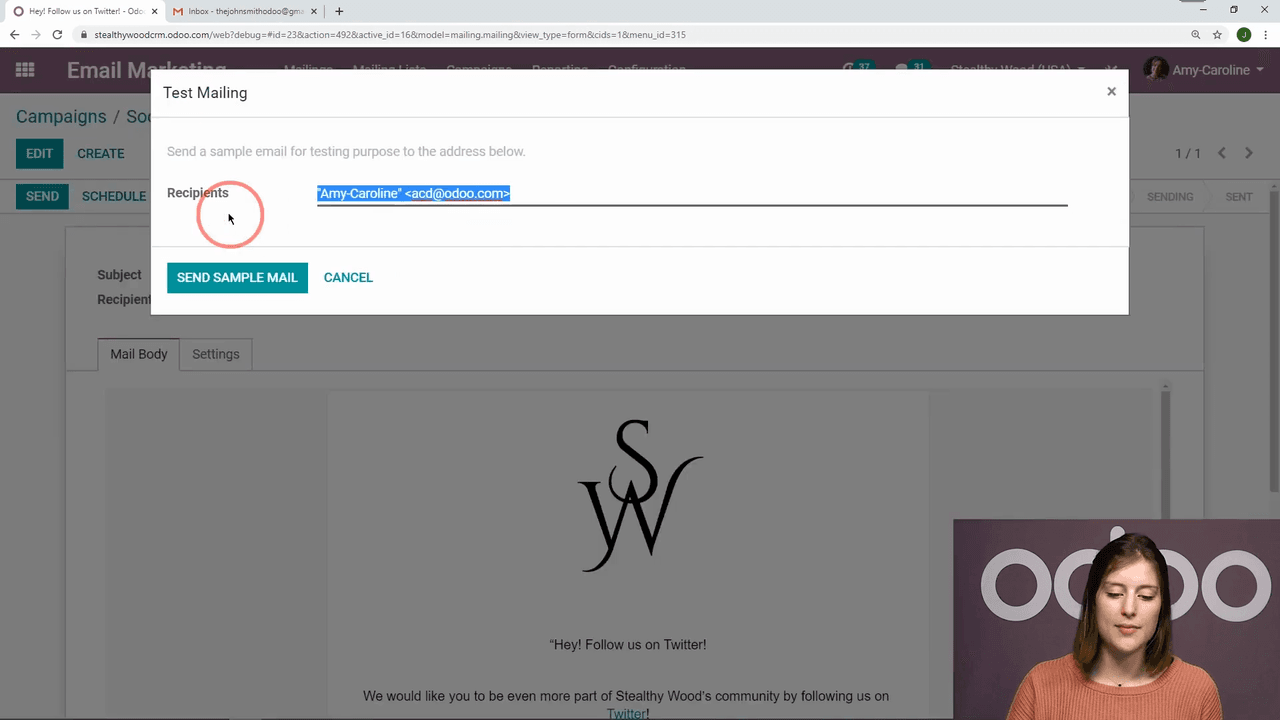
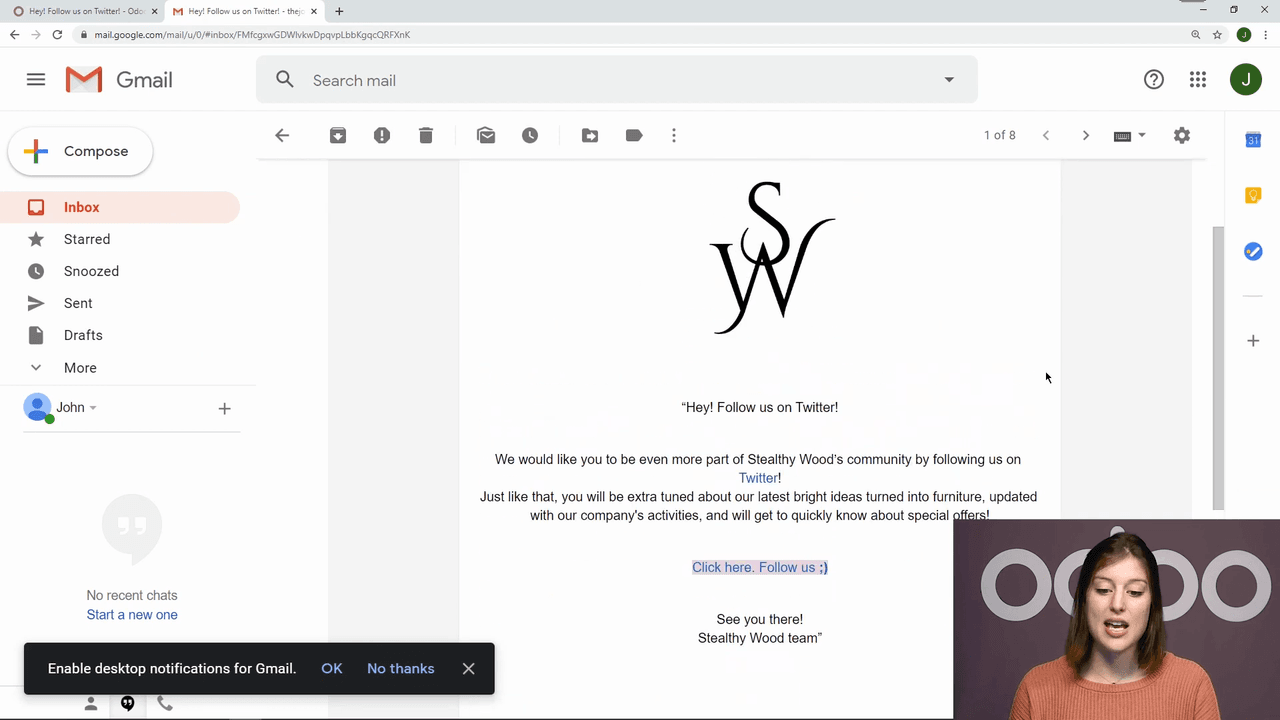
Before sending to your full list, use the Test button to send a sample email to a specific address. This lets you verify exactly how your email appears in a real inbox, including layout, images, and links.

Test button and recipient input for sending sample email

Sample email received in inbox showing final layout

Organizing with Campaigns

Campaigns let you group related marketing activities and centralize their metrics across channels — email, SMS, social media, and push notifications.

Create a Campaign

  1. Enable Mailing Campaigns in Email Marketing settings (Configuration > Settings)
  2. Go to Campaigns and click Create
  3. Name your campaign and assign a responsible person
  4. Add tags for easy filtering (e.g., "2026 Q1", "Newsletter", "Product Launch")

Mailing Campaigns setting enabled in Configuration

New campaign creation form with name, responsible, and tags

Add Emails to a Campaign

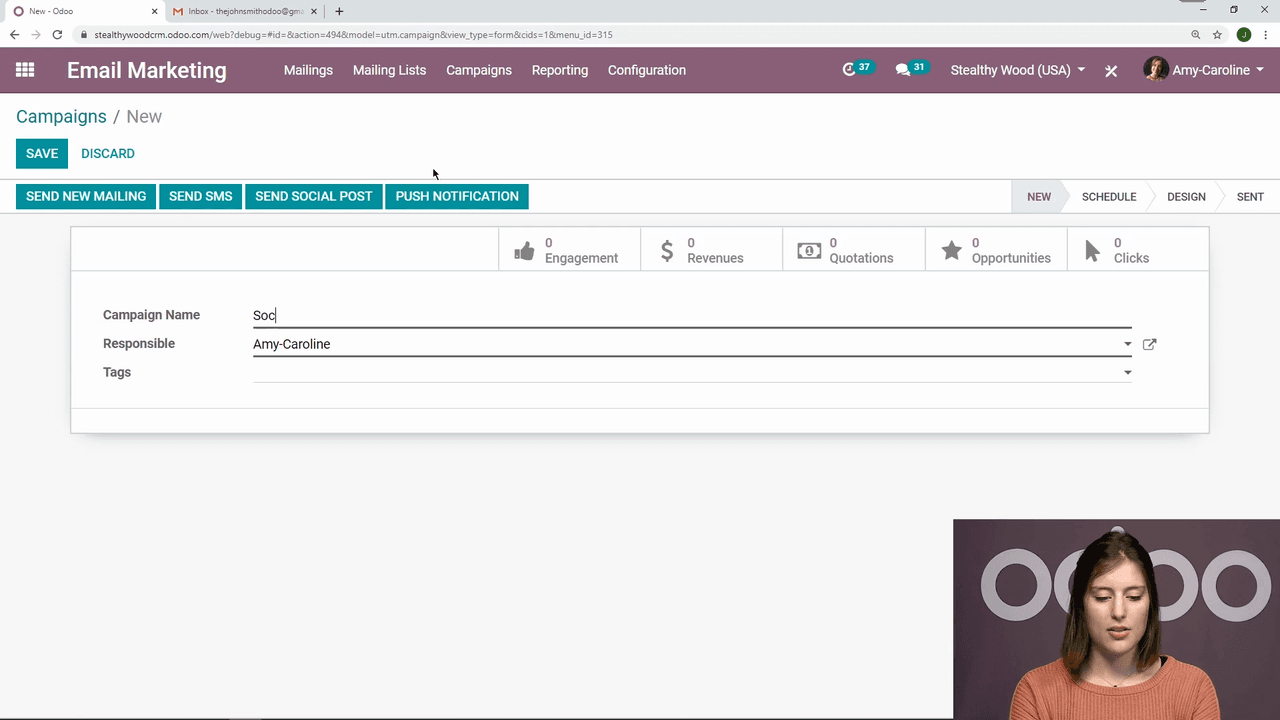
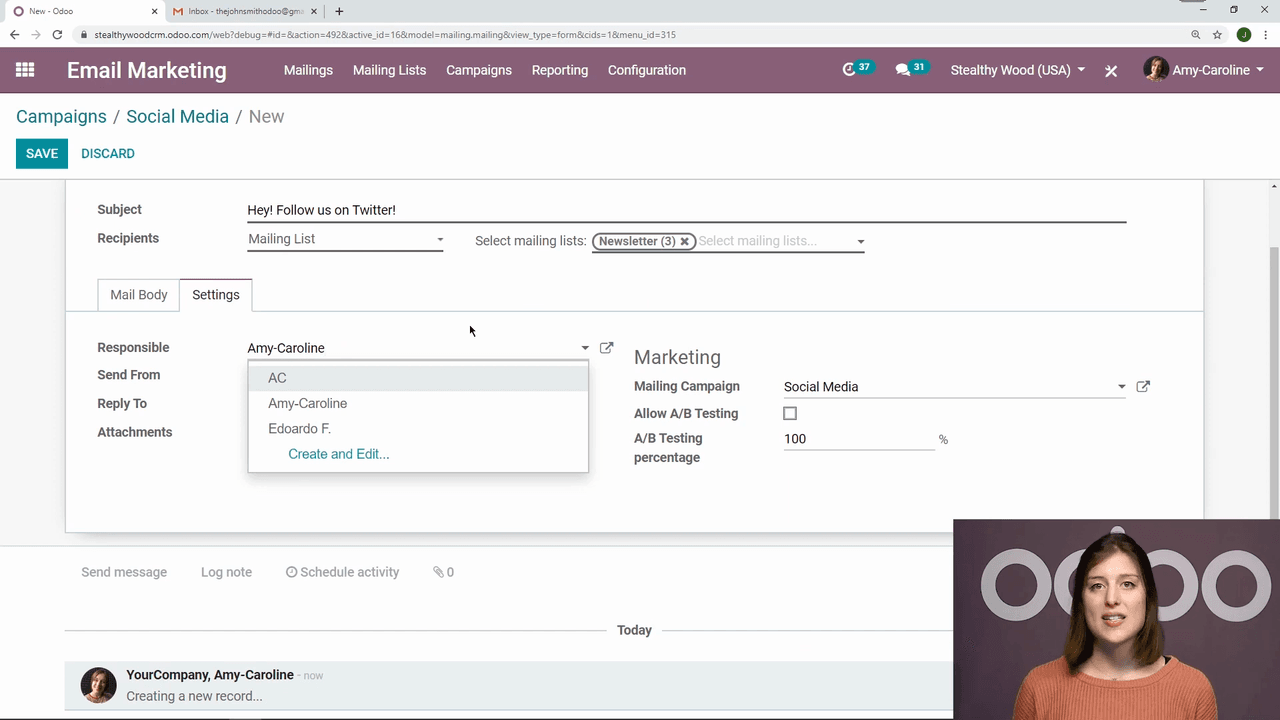
From within a campaign, click to create a new mailing. Each email in the campaign can have:

  • Its own subject line and recipients
  • A different responsible person — useful when team members handle different communications
  • Custom sender address and reply-to address — route replies to the right inbox
  • File attachments

Creating a new mailing within a campaign

Settings tab showing responsible person, sender, and reply-to fields

Track Campaign Performance

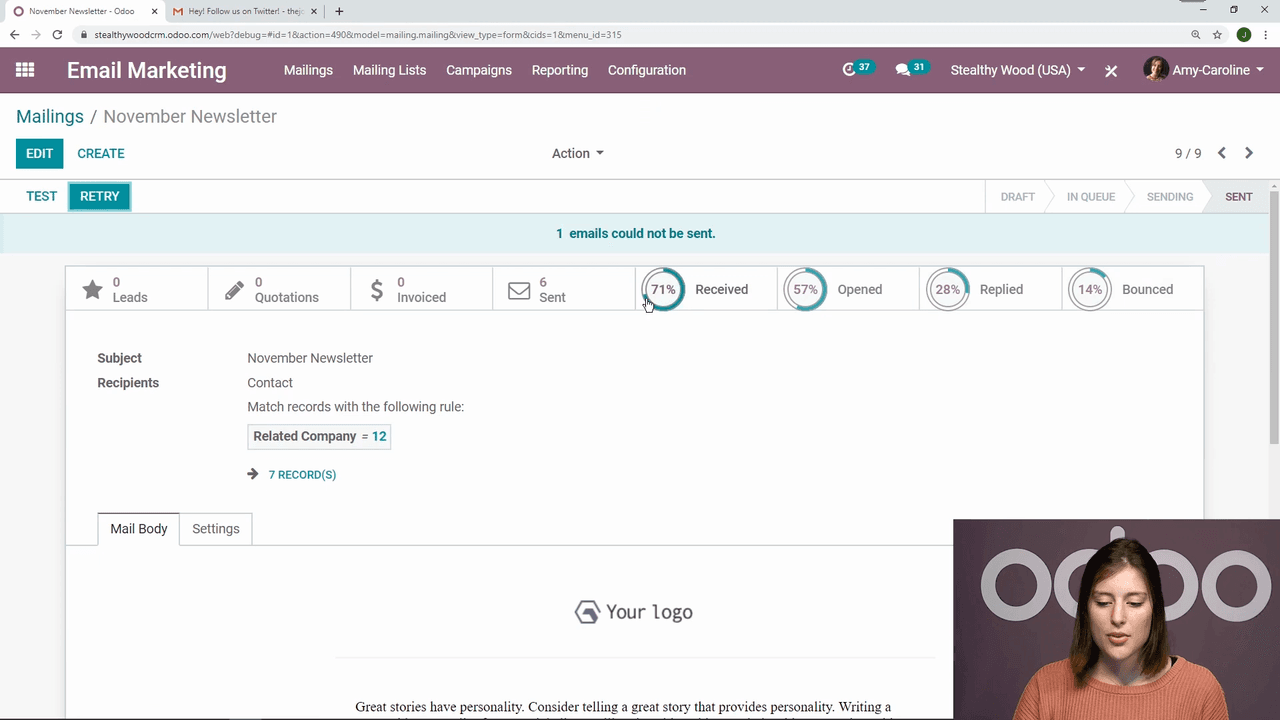
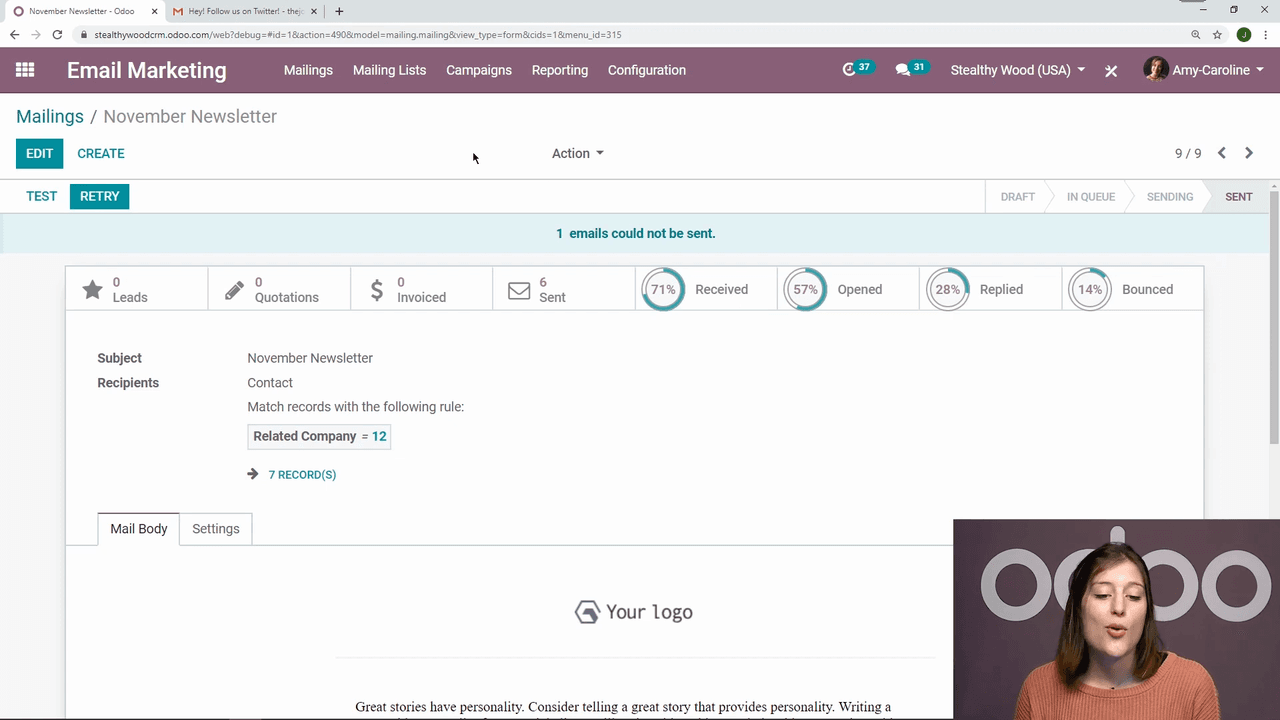
The campaign overview shows all associated emails with their status and metrics:

  • Delivered — successfully reached the recipient's inbox
  • Opened — recipient opened the email
  • Replied — recipient replied directly
  • Bounced — email could not be delivered

You can view metrics per individual email or aggregated across the entire campaign.

Campaign overview with email list and aggregated metrics

Individual email metrics showing delivered, opened, replied, and bounced

Duplicating Emails and Campaigns

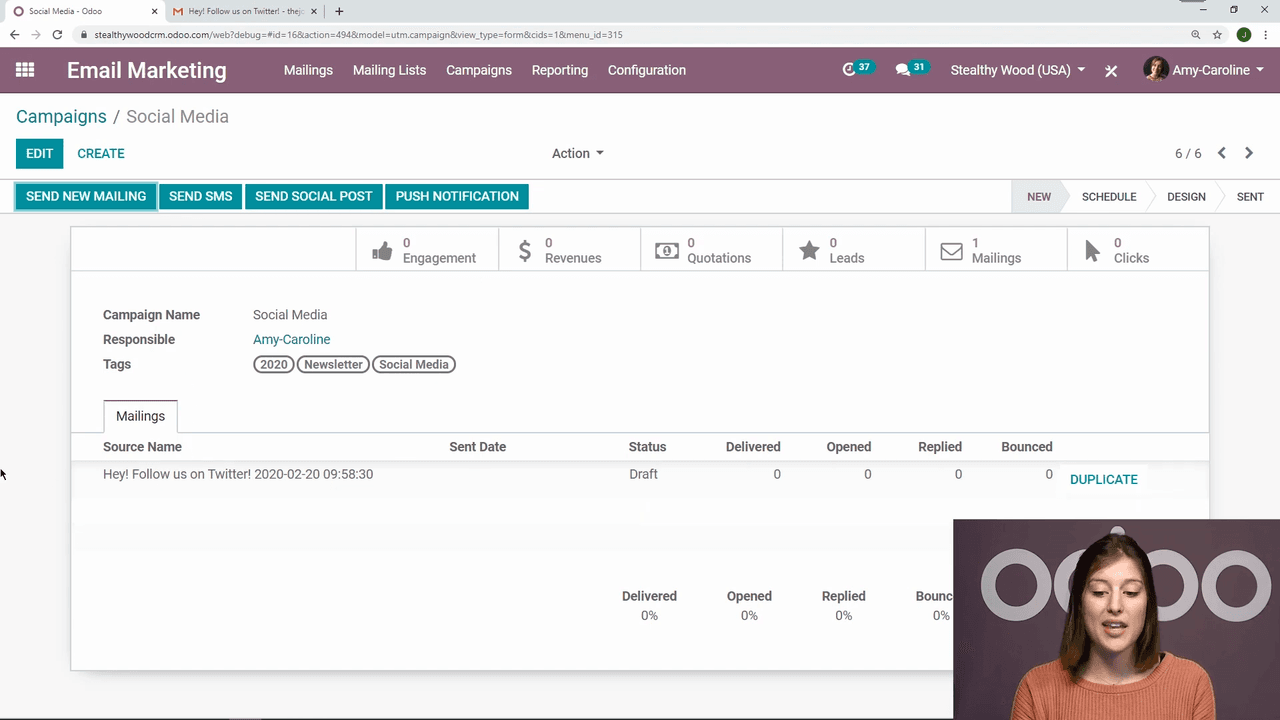
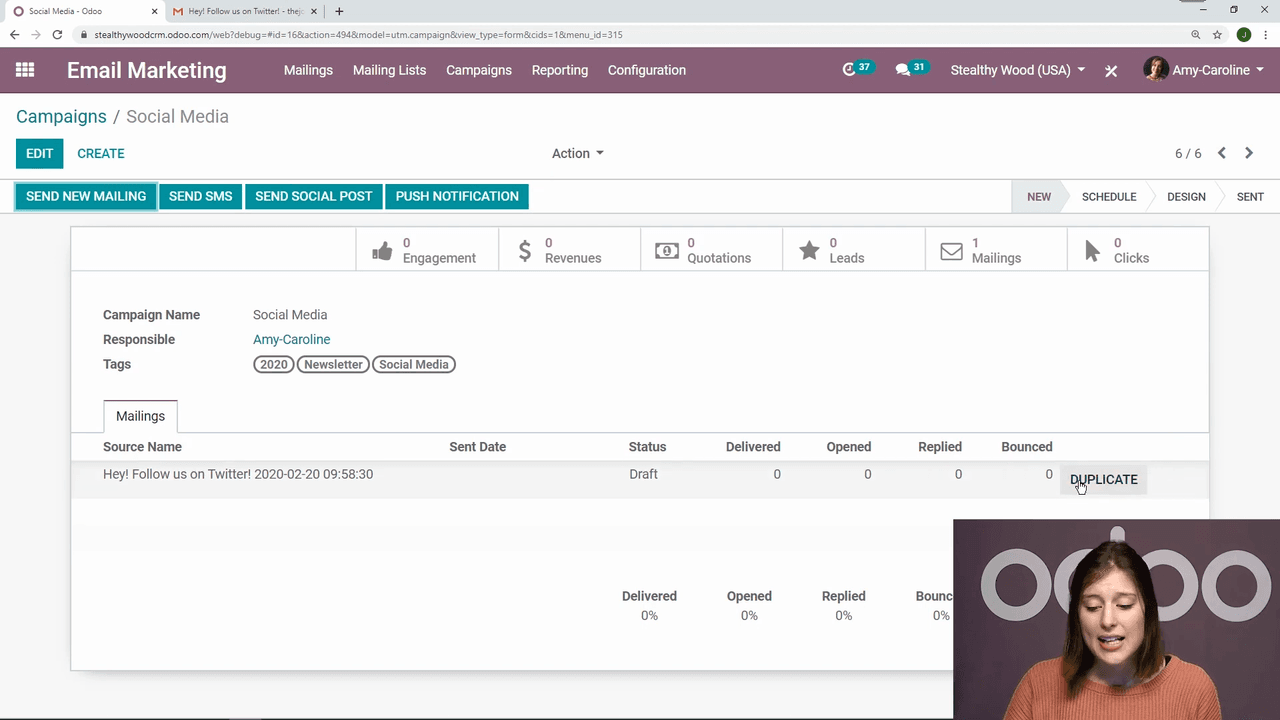
When an email performs well or you invested significant effort in its design, duplicate it to use as a starting point:

  • From within a campaign, click the Duplicate button on any email
  • From the email itself, go to Action > Duplicate
  • You can also duplicate an entire campaign to reuse its structure

Duplicated emails start as new drafts, ready for customization.

Duplicate button on email within campaign view

Action menu showing Duplicate option

Managing Mailing Lists

Mailing lists organize your contacts into targeted groups. Go to the Mailing Lists menu to:

  • Create new lists — segment contacts by interest, subscription type, or any criteria
  • Manage contacts — view and edit who belongs to each list
  • Use multiple lists — select more than one list as recipients when sending an email

Well-organized mailing lists are the foundation of effective email marketing. Segment your audience so each group receives relevant content.

Mailing Lists menu showing existing lists

Mailing list contacts management view

Getting Started

To begin using Odoo Email Marketing:

  1. Install the Email Marketing module from the Odoo Apps menu
  2. Enable Mailing Campaigns in settings if you want campaign-level organization
  3. Create your first mailing list and import or add contacts
  4. Design your first email using Odoo's built-in templates
  5. Test, send, and track your results

References

Tags

OdooEmail MarketingMailing ListsCampaignsMarketing Automation
Professional businesswoman working with data and analytics in modern office environment

Need Help with Odoo Implementation in Hong Kong?

Zoo AI is a certified Odoo partner in Hong Kong, delivering expert ERP implementation and AI automation for SMEs. Get in touch to learn more.