How to Manage Contacts and Import Data in Odoo

How to Manage Contacts and Import Data in Odoo

Yannis, Odoo Expert
5 min read

Table of Contents

Why Centralised Contact Management Matters

Storing contact information across spreadsheets, email threads, and sticky notes creates chaos. You waste time searching for details and risk working with outdated data.

Odoo's Contacts app gives you a single source of truth. Every contact you create is accessible across all Odoo apps — CRM, Sales, Invoicing, and more.

Odoo Contacts app main view showing contact cards

Company vs Individual Contacts

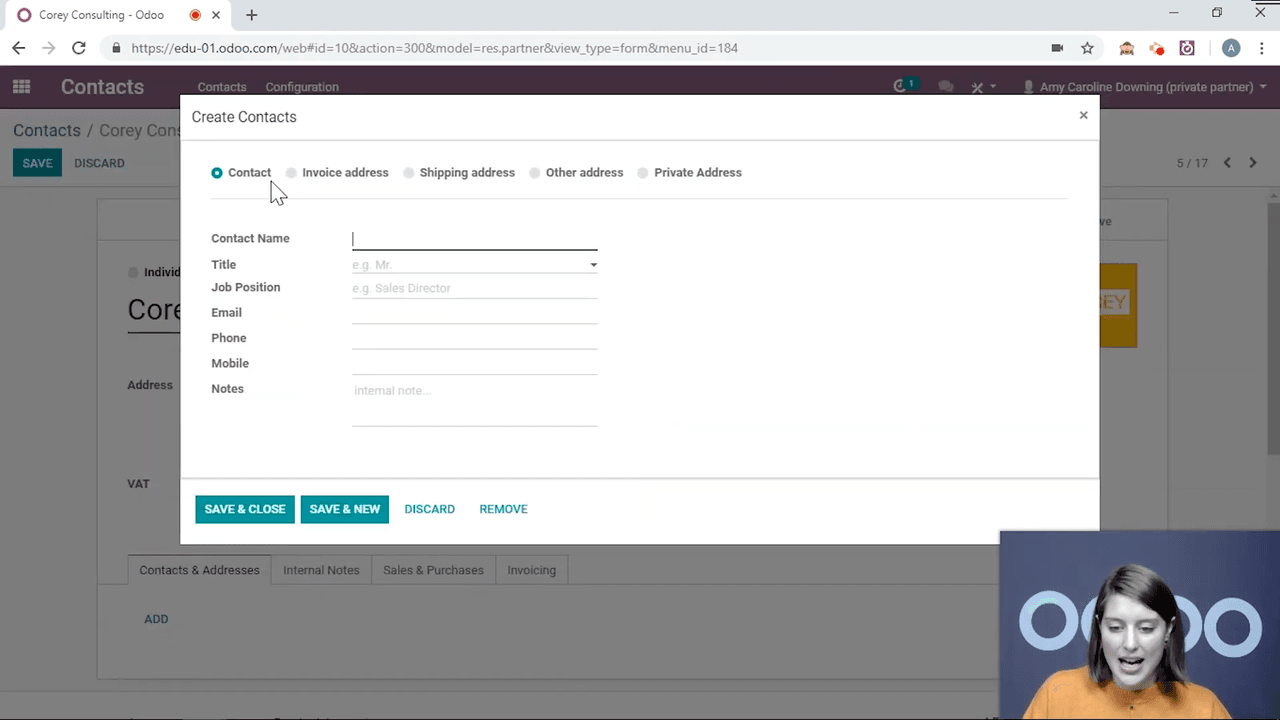
Odoo supports two contact types:

  • Company — a business entity (e.g. "Corey Consulting")
  • Individual — a person, optionally linked to a company

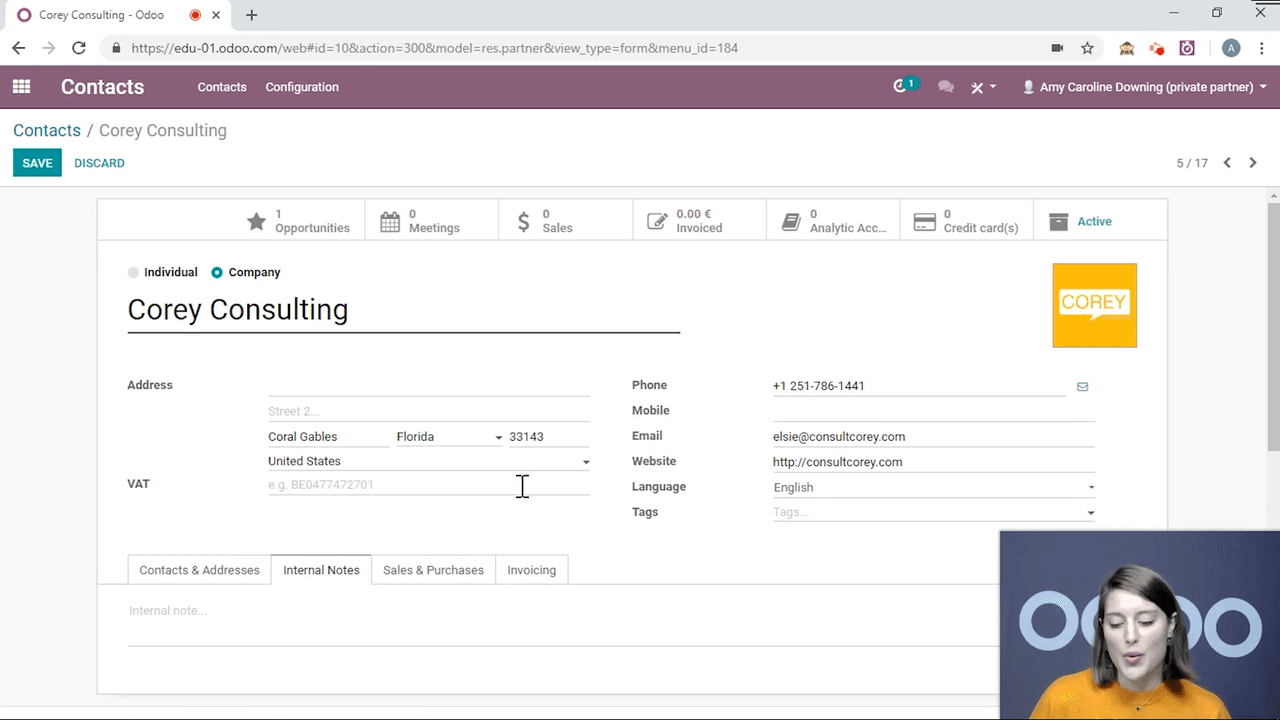
When you open a contact and click edit, the first field lets you choose between these two types. For individuals, an extra Company field appears so you can associate them with their employer.

Contact form showing company/individual toggle field

Linking Individuals to Companies

When you link an individual (e.g. Amy) to a company (e.g. Corey Consulting):

  • The company name displays below the individual's name
  • Clicking the company name navigates to the company contact
  • The company's contact list automatically shows the linked individual

This two-way link keeps your organisational structure clear.

Individual contact Amy linked to Corey Consulting with company name visible

Key Fields on the Contact Form

Basic Information

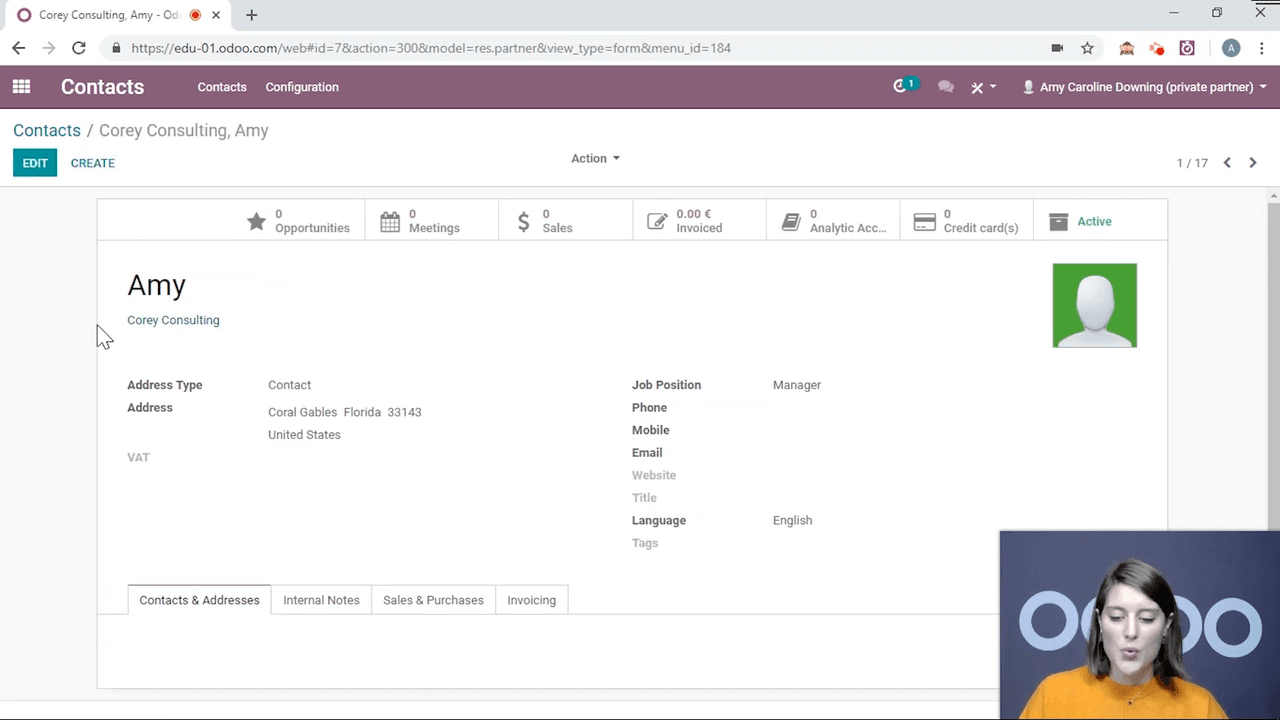
Every contact form includes fields for:

  • Address
  • VAT number
  • Email and phone numbers
  • Website
  • Preferred language
  • Job position (individuals only)

Contact form basic information fields including address, VAT, email

Contacts & Addresses Tab

You can add multiple addresses to a single contact:

  • Contact — a person at that company
  • Invoice address — where invoices are sent
  • Shipping address — where goods are delivered
  • Private address — personal address
  • Other address — any additional location

Contacts and Addresses tab showing address type options

Internal Notes Tab

Add internal notes visible only to your team. Use this for reminders like "preferred customer" or special handling instructions.
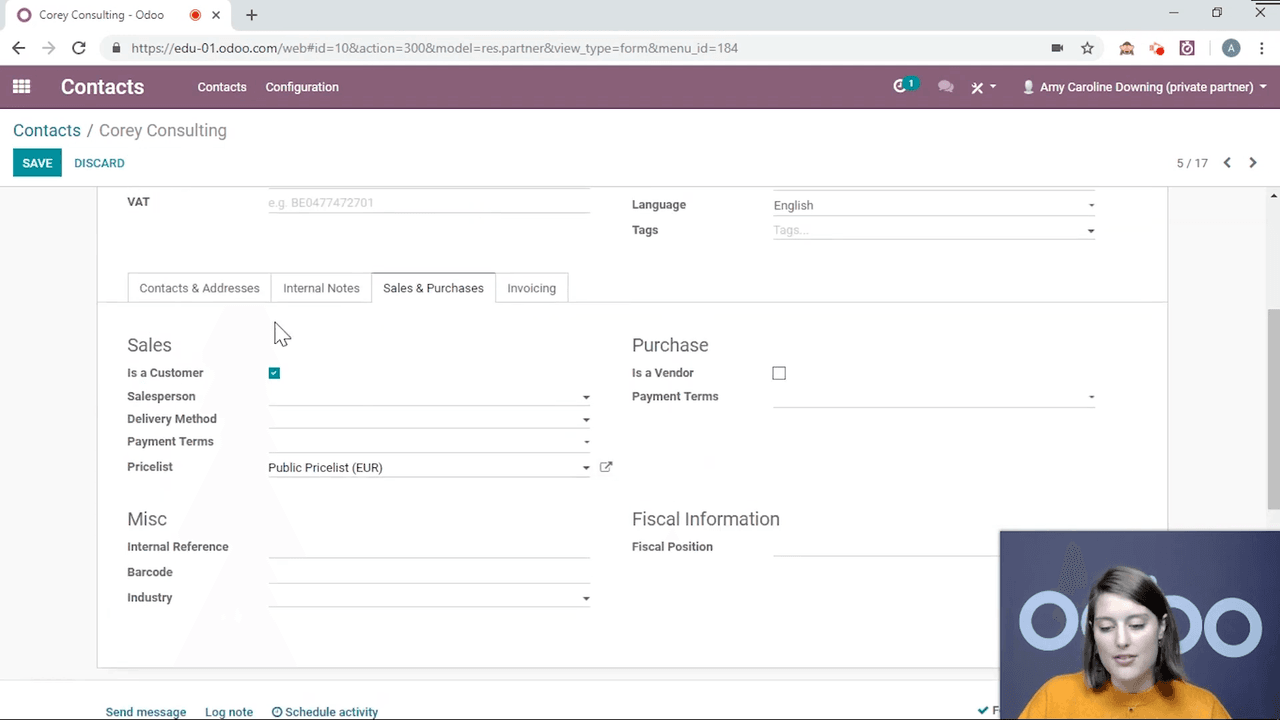
Internal Notes tab on contact form

Sales & Purchases Tab

FieldPurpose
Customer / Vendor toggleClassify the contact's role
SalespersonAssign a dedicated sales rep
Delivery methodSet preferred shipping
Payment termsDefine credit terms specific to this contact
Price listApply a custom price list

Sales and Purchases tab with customer/vendor toggle and payment terms

Invoicing Tab

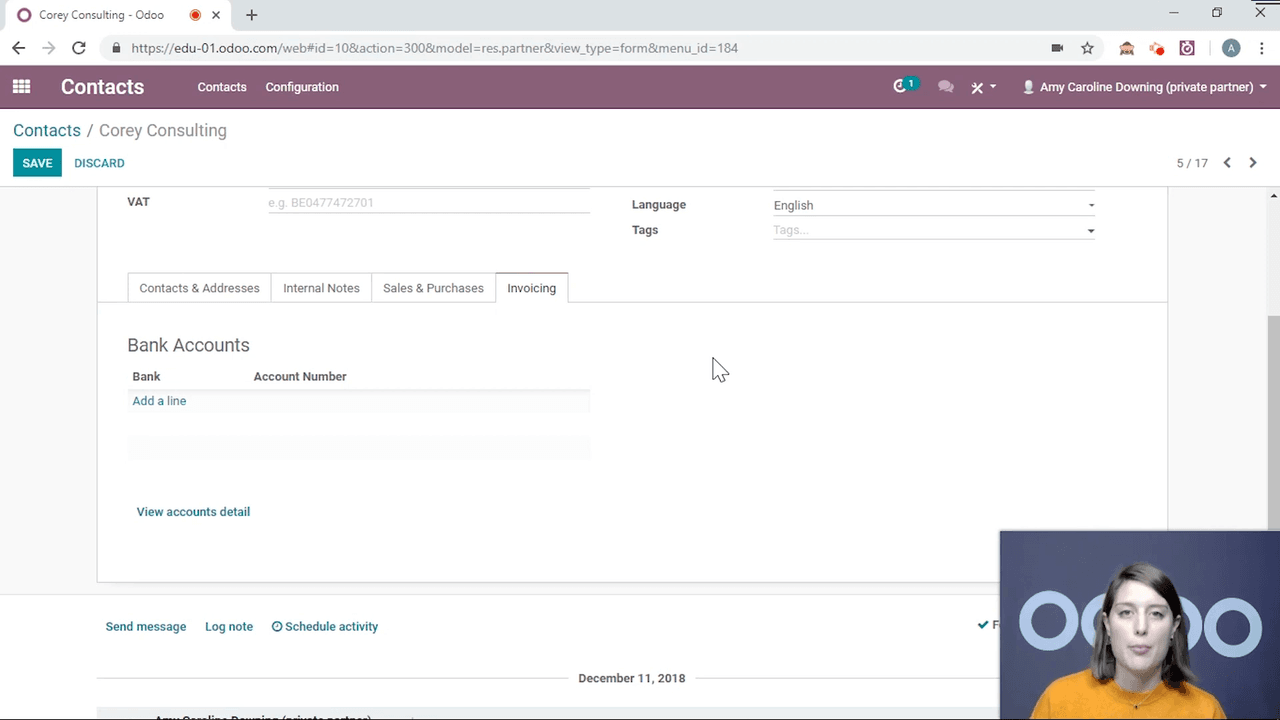
Store bank account details for the contact. This is especially useful for vendors you pay regularly — the bank information auto-populates on payment orders.

Invoicing tab showing bank account details

Miscellaneous Fields

Additional fields include internal reference, barcode, industry, and fiscal information.

Smart Buttons: Cross-App Activity at a Glance

At the top of each contact form, smart buttons show related records across Odoo:

  • CRM opportunities
  • Scheduled meetings
  • Sales orders
  • Invoices
  • Analytic accounts

Click any button to jump directly to those records.

Smart buttons at top of contact form showing CRM, meetings, sales, invoices

Archiving and Reactivating Contacts

If you stop working with a contact temporarily:

  1. Open the contact
  2. Click Archive

Archived contacts disappear from the default list view but remain searchable. When the relationship resumes, simply reactivate the contact.

List View and Bulk Actions

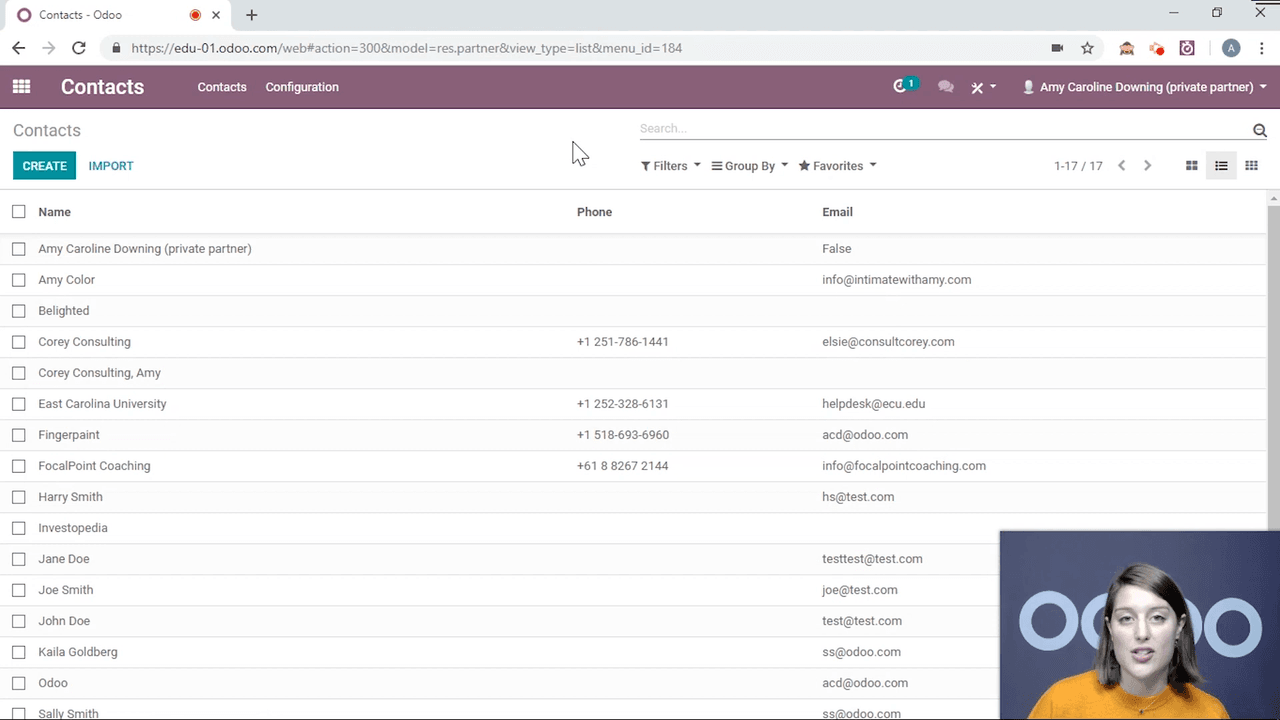
Switch to list view for bulk operations. Select multiple contacts, then use the Action menu to:

  • Archive multiple contacts at once
  • Export data to Excel or CSV
  • Delete contacts permanently

List view with multiple contacts selected and Action menu open

Exporting Contacts

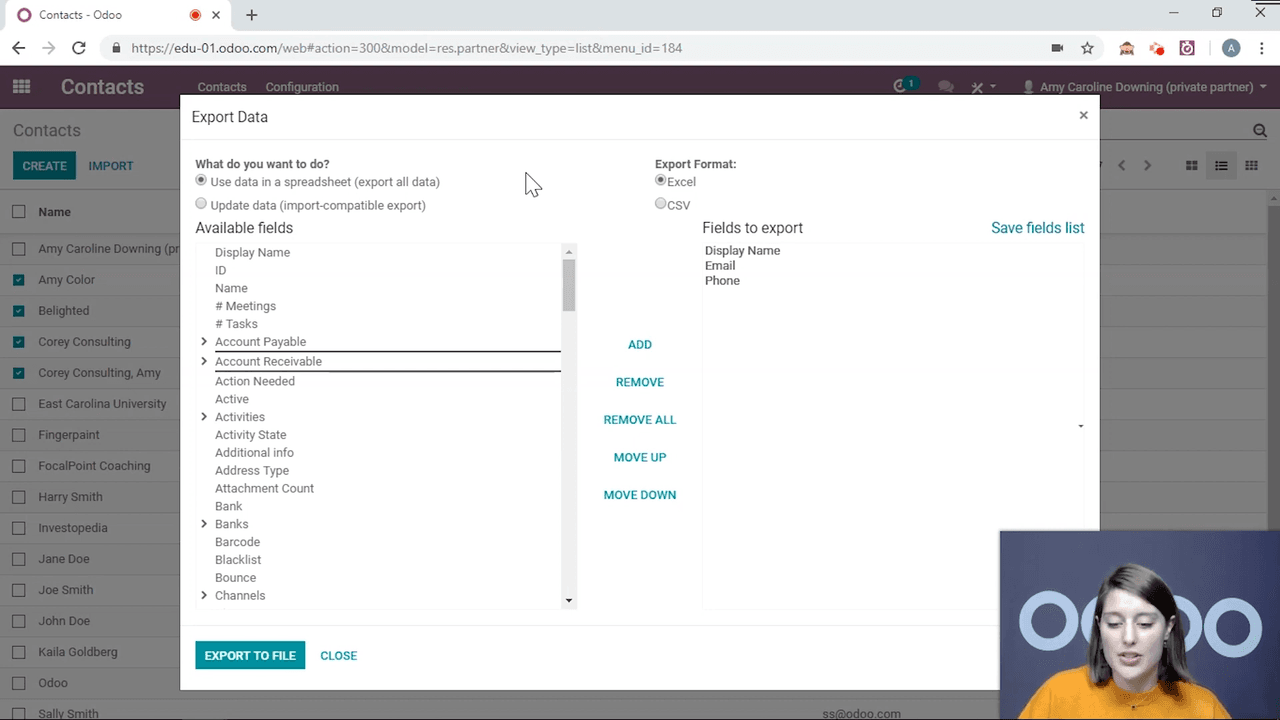
Odoo offers two export modes:

  • Standard export — downloads selected fields to Excel or CSV
  • Import-compatible export — formats column headers so the file can be re-imported into Odoo without field mapping issues

Always use the import-compatible export if you plan to modify data externally and import it back.

Export dialog showing import-compatible export option

Importing Contacts into Odoo

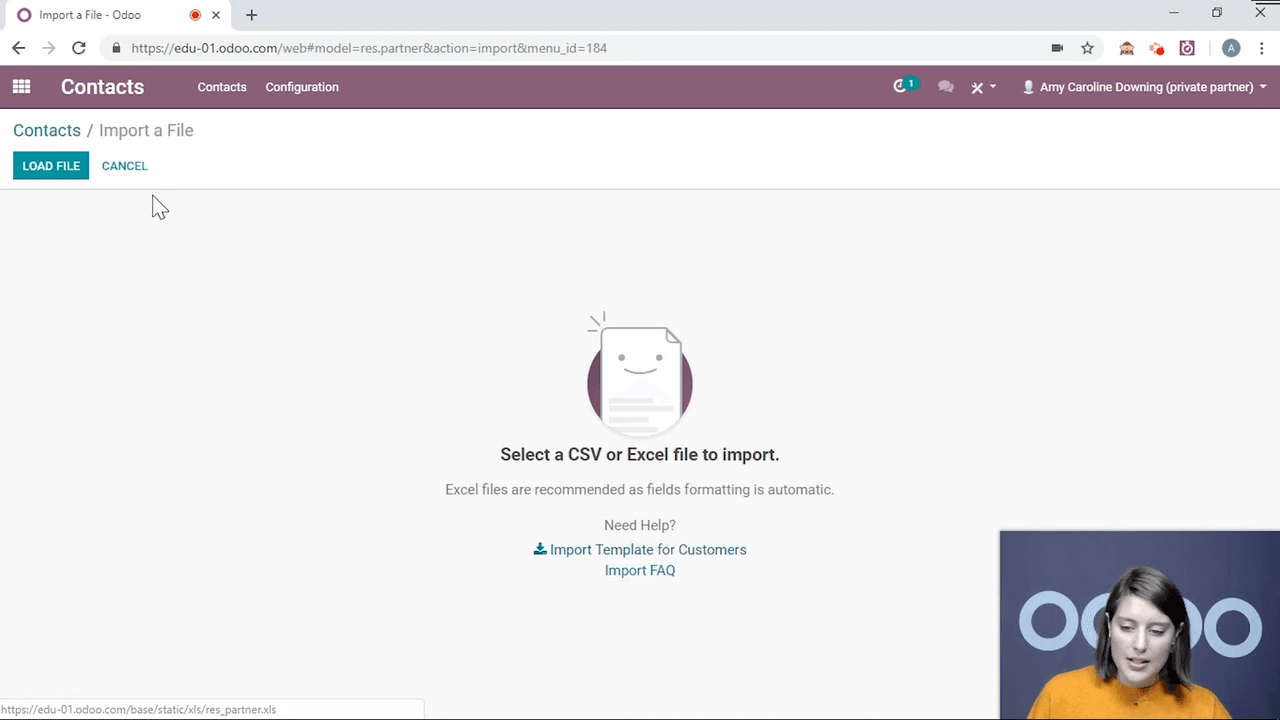
For businesses migrating to Odoo or managing large contact lists in spreadsheets, the import feature saves significant time.

Step 1: Prepare Your File

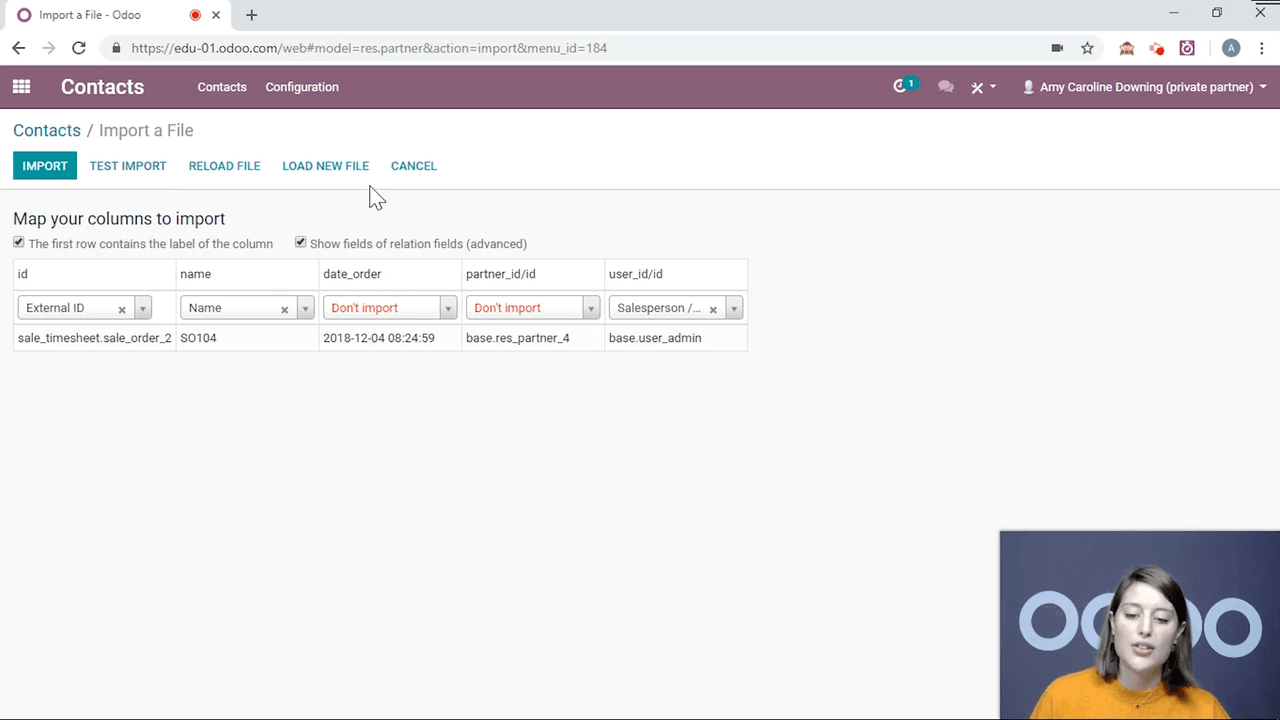
Use the import-compatible export as a template. This ensures column headers match Odoo's expected field names exactly.

Step 2: Load and Map Fields

  1. Go to Contacts and click Import
  2. Click Load File and select your spreadsheet
  3. Odoo auto-maps columns to fields based on header names
  4. Fields that cannot be matched display "Don't Import" — adjust these manually

Import screen with Load File button and field mapping interface

Step 3: Test and Import

Click Test Import to validate your data before committing. If no errors appear, proceed with the full import.

Import screen showing Test Import button and validation results

Tips for a Smooth Contact Setup

  • Start with companies, then add individuals linked to them
  • Use import-compatible export as your spreadsheet template
  • Test import before committing large datasets
  • Archive rather than delete — you preserve the relationship history
  • Fill in payment terms and price lists early to automate downstream documents

Next Steps

With your contacts in place, explore how they integrate with other Odoo apps:

  • Set up your first CRM pipeline to track opportunities
  • Create sales orders linked to your new contacts
  • Configure invoicing with pre-filled contact details

References

Tags

OdooContactsData ImportGetting StartedCRM
Professional businesswoman working with data and analytics in modern office environment

Need Help with Odoo Implementation in Hong Kong?

Zoo AI is a certified Odoo partner in Hong Kong, delivering expert ERP implementation and AI automation for SMEs. Get in touch to learn more.